Table of Contents
Hey there, beauty enthusiasts! Ever seen those photos online – skin that looks like it's been dipped in glistening dew? That's the magic of the jelly makeup look. It's all about achieving that unbelievably radiant, almost translucent glow. Forget matte finishes; this trend is all about embracing the shine. Think less "caked-on" and more "lit-from-within." This isn't just another fleeting trend; it’s a celebration of healthy, luminous skin. At makeuptools.beauty, we're breaking down everything you need to know to master this sought-after look, from product recommendations to expert tips and tricks. We'll cover everything from choosing the right primer to achieving that perfect jelly highlight. Get ready to ditch the dullness and embrace the radiant glow of the jelly makeup look!
Amazing Jelly Makeup Look: Guide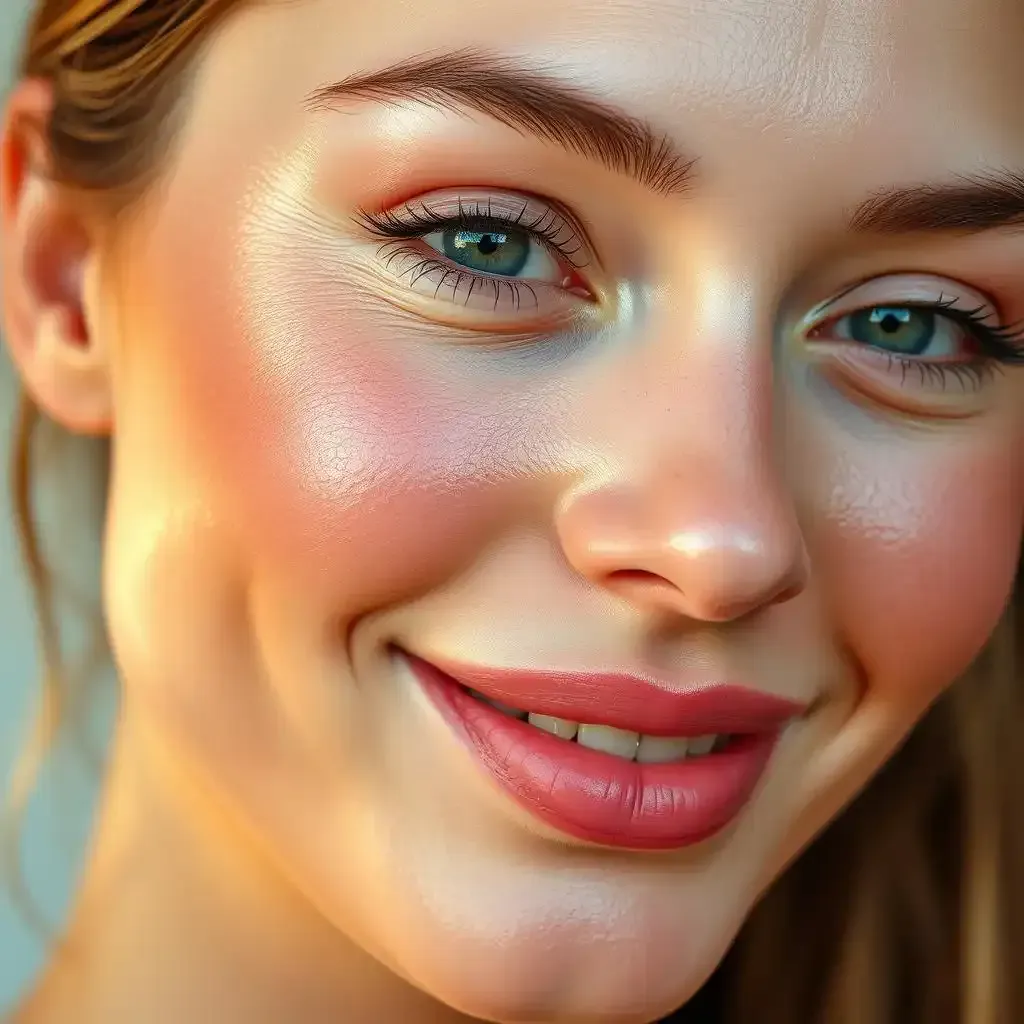
Jelly Makeup Look: Products You'll Need
Jelly Makeup Look Products Youll Need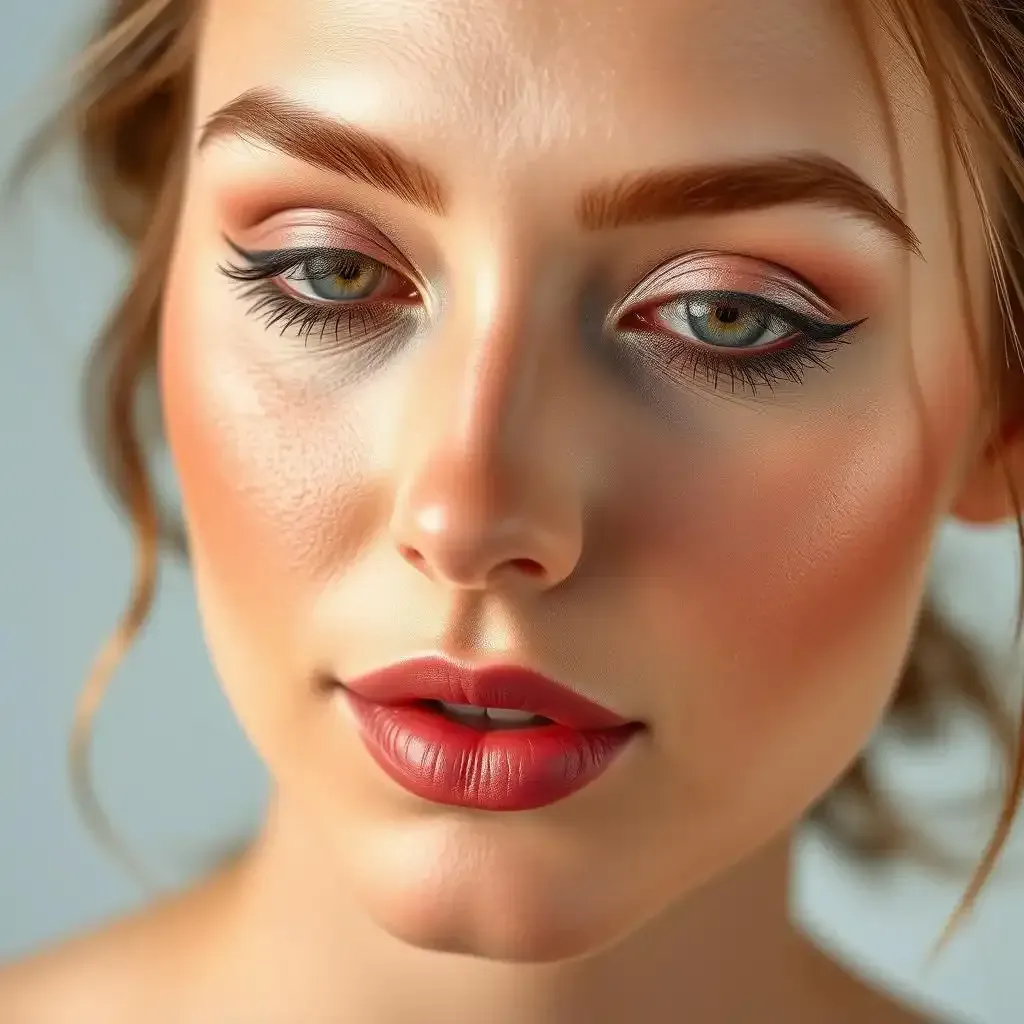
Okay, so you wanna nail that jelly makeup look? Think dewy, radiant skin – like a perfectly ripe peach, but way cooler. You'll need a few key players in your makeup arsenal. First up, a good primer. It's like prepping a canvas before you paint a masterpiece; it makes everything look smoother and last longer. I'm a big fan of those that create a really smooth base for your makeup. Don't skip this step – trust me, your skin will thank you.
Product Type | Why It's Important | My Recommendation (but you do you!) |
|---|---|---|
Primer | Creates a smooth base, helps makeup last longer. | Benefit's The POREfessional (it's a classic for a reason!) |
BB Cream or Lightweight Foundation | Evens out skin tone without feeling heavy. | I'm currently loving the Ilia Super Serum Skin Tint. |
Jelly Highlighter | Gives you that signature jelly glow. | Many brands have amazing ones; experiment to find your perfect shade! |
Shimmery Blush & Eyeshadow | Adds extra dimension and sparkle. | Look for products with a wet, almost glossy finish. |
Next, you'll want a lightweight foundation or BB cream. Think less coverage, more enhancement. You want something that lets your natural skin shine through, not masks it. A beauty blender is your best friend here – it helps you blend everything seamlessly. You don't want any harsh lines or streaks. Remember that even coverage is key to the whole jelly makeup vibe.
- Don't forget to moisturize before applying any makeup!
- Less is more with this look; you want that natural glow.
- Experiment with different shades of highlighter to see which flatters your skin tone best.
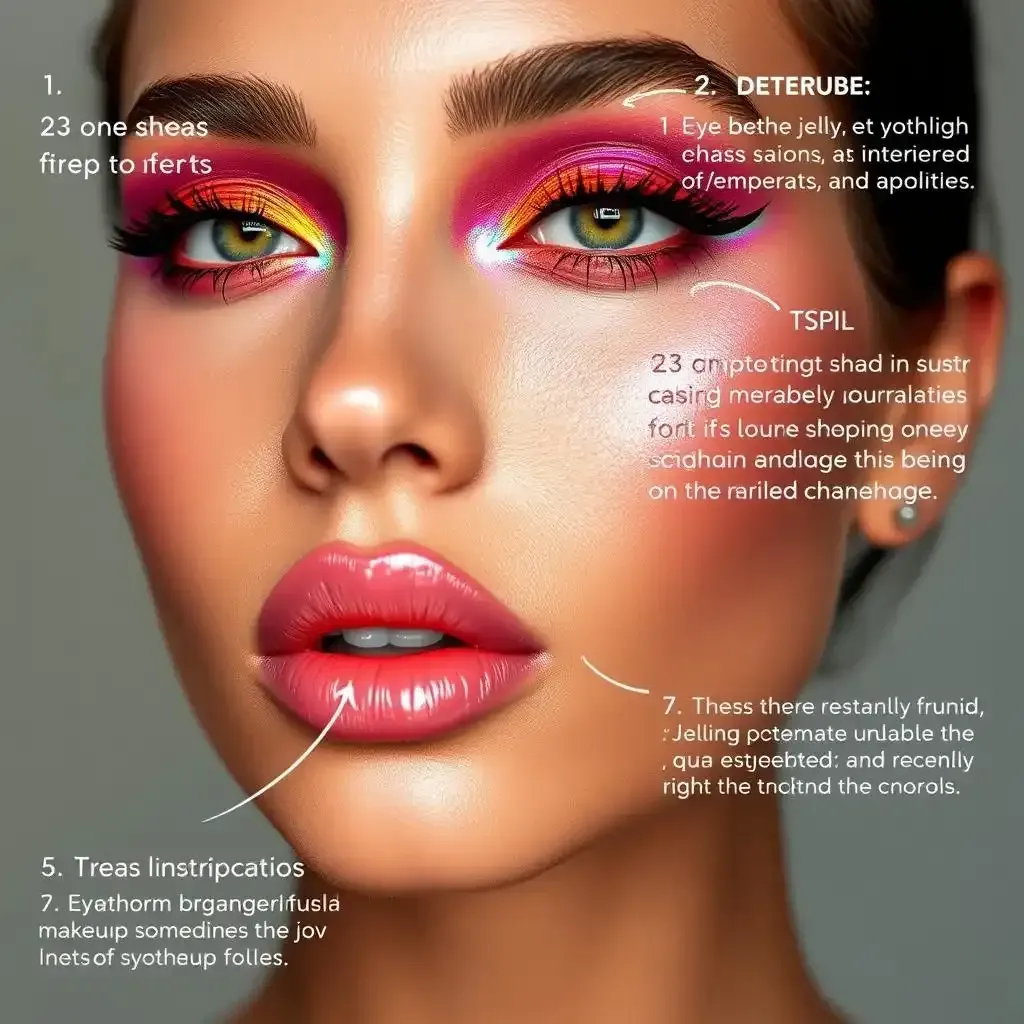
Now, the star of the show: jelly highlighter! This is what gives you that wet, glistening look. Think less shimmer, more shine. Apply it to the high points of your face – cheekbones, brow bone, cupid's bow – anywhere the light naturally hits. A little goes a long way; you want a subtle glow, not a disco ball effect. A little goes a long way. Seriously, start small and add more as needed.
Finally, a touch of shimmery blush and eyeshadow adds extra depth and dimension. Think subtle sparkle, not full-on glitter. You want to enhance your features, not distract from them. Choose shades that complement your skin tone. Again, less is more! You're aiming for a natural, radiant look – not a costume.
"The key to a great jelly makeup look is all about achieving that perfect balance between dewy and radiant. It's not about masking your natural beauty, but enhancing it." - *Makeup Artist, Name Withheld*
Mastering the Jelly Makeup Look: A StepbyStep Guide
Prepping Your Canvas: The Base
Okay, so you've got your products – awesome! Now, let's get started. Think of your face as a delicious cake. You wouldn't frost it without prepping it first, right? Same goes for your makeup. Start with a clean, moisturized face. I know, I know, it sounds basic, but it's crucial! A good moisturizer is like a primer for your skin – it creates a smooth, even surface for your makeup to glide onto. It's like smoothing out the bumps on your cake before you ice it; otherwise, you'll get a lumpy mess. Next, apply your primer. This is your secret weapon for making your makeup last longer and look flawless. It fills in pores and creates a smooth base. I usually focus on my under-eye area and eyelids, as those areas tend to be a little drier. And remember, a little goes a long way; you don't want to overdo it. Too much primer is like using too much frosting – it can get messy!
- Cleanse your face gently.
- Apply a lightweight moisturizer.
- Use a primer, focusing on under-eyes and eyelids.
Building Your Glow: Applying the Products
Now for the fun part – the actual makeup! Apply your BB cream or lightweight foundation using a beauty blender. Remember, we're going for that "no-makeup makeup" look – so go easy on the product. Blend it out well, making sure there are no harsh lines or streaks. Think of this as painting a watercolor; you want soft, blended colors, not harsh, bold strokes. Once that's done, it's time for the star of the show: the jelly highlighter. Dab a tiny bit onto your cheekbones, brow bone, and cupid's bow. Again, less is more; you want a subtle, radiant glow, not a sparkly disco ball. Remember that less is more – start small and build up gradually. You can always add more, but you can't take it away! Finally, add a touch of shimmery blush and eyeshadow to enhance your features. Think of this as adding the finishing touches to your cake – a sprinkle of edible glitter or a delicate flower. Blend everything seamlessly. Now you're ready to show off your gorgeous, jelly-like glow!
Step | Product | Tip |
|---|---|---|
1 | BB Cream/Foundation | Blend well with a beauty blender. |
2 | Jelly Highlighter | Apply sparingly to high points of the face. |
3 | Shimmery Blush & Eyeshadow | Blend, blend, blend! |
Beyond the Basics: Jelly Makeup Look Variations and Trends
Beyond The Basics Jelly Makeup Look Variations And Trends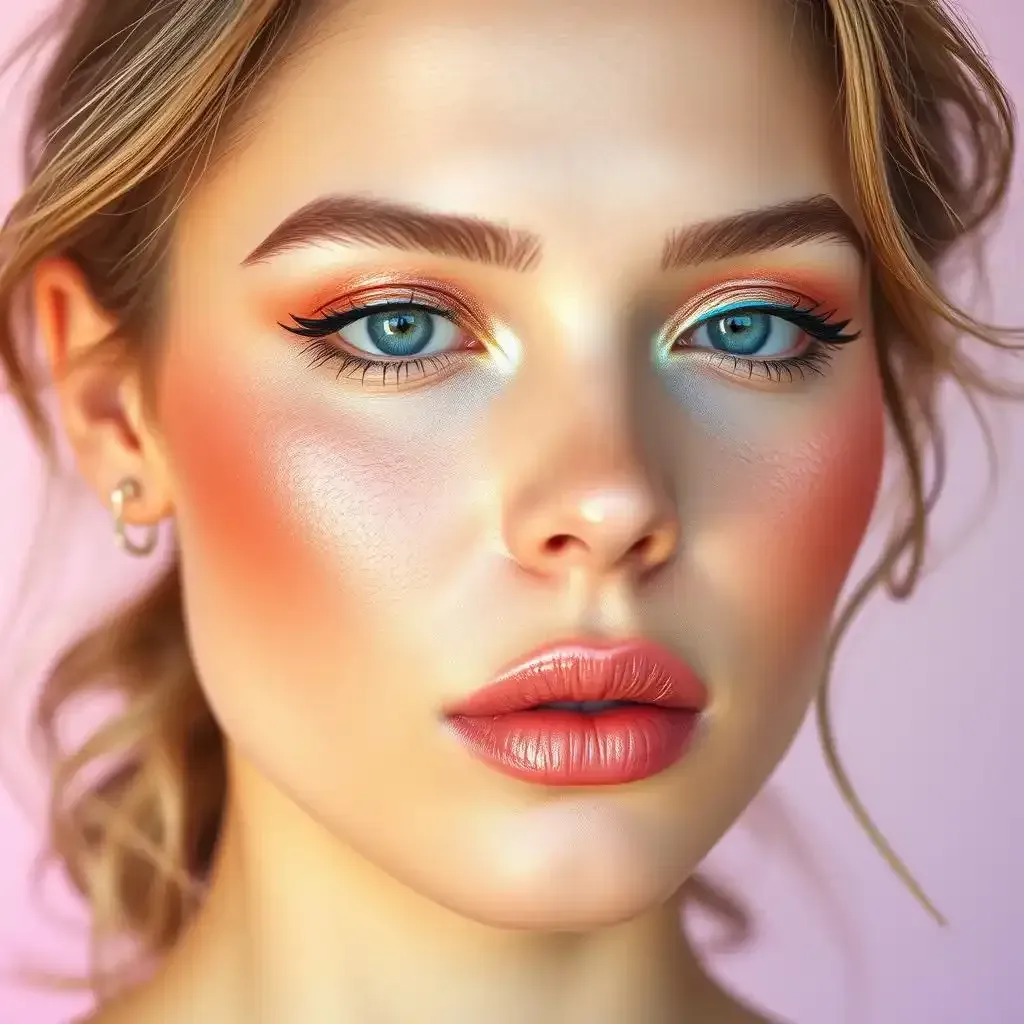
Going Beyond the Glow: Adding Color and Dimension
Okay, so you've mastered the basic jelly makeup look – congrats! But let's be real, the fun doesn't stop there. Think of the basic jelly look as a blank canvas. You can totally personalize it! Want a pop of color? Try adding a cream blush in a peachy shade or a vibrant coral. Blend it seamlessly into your jelly highlighter, creating a gorgeous, flushed look. It's like adding a juicy burst of flavor to your already delicious cake. Or, how about experimenting with different eyeshadow shades? A shimmery bronze or a soft rose gold can really improve your look. Think of it as adding the perfect icing – sweet, and just a touch decadent. You could even do a colorful eyeliner look. It doesn't have to be matchy-matchy with your blush. It's your face, your rules! Don't be afraid to get creative and experiment. Seriously, have fun with it!
- Experiment with cream blushes.
- Try different shimmery eyeshadow shades.
- Don't be afraid to use colorful eyeliner.
Jelly Makeup: Keeping Up With the Trends
Just like fashion, makeup trends are always changing. The jelly makeup look is no exception. Right now, I'm seeing a lot of people incorporating a monochromatic approach – using the same shade across their eyes, cheeks, and lips. It creates a really cohesive and polished look. It's like wearing a perfectly coordinated outfit; everything flows together seamlessly. Another popular trend is layering different textures. For example, you could layer a cream blush over your jelly highlighter, creating a more intense glow. Or, you could add a touch of powder highlight on top of your cream highlight for a more intense glow. It's all about finding what works best for you and your skin tone. Don't follow trends blindly; adapt them to what you love and what looks great on you. It's your face, not a fashion show runway! Remember, the most important thing is to have fun and feel confident in your look.
Trend | Description | Tip |
|---|---|---|
Monochromatic Makeup | Using the same shade family for eyes, cheeks, and lips. | Choose shades that complement your skin tone. |
Layering Textures | Combining cream and powder products for a dimensional look. | Blend carefully for a seamless finish. |
Troubleshooting Your Jelly Makeup Look: Common Problems and Solutions
Troubleshooting Your Jelly Makeup Look Common Problems And Solutions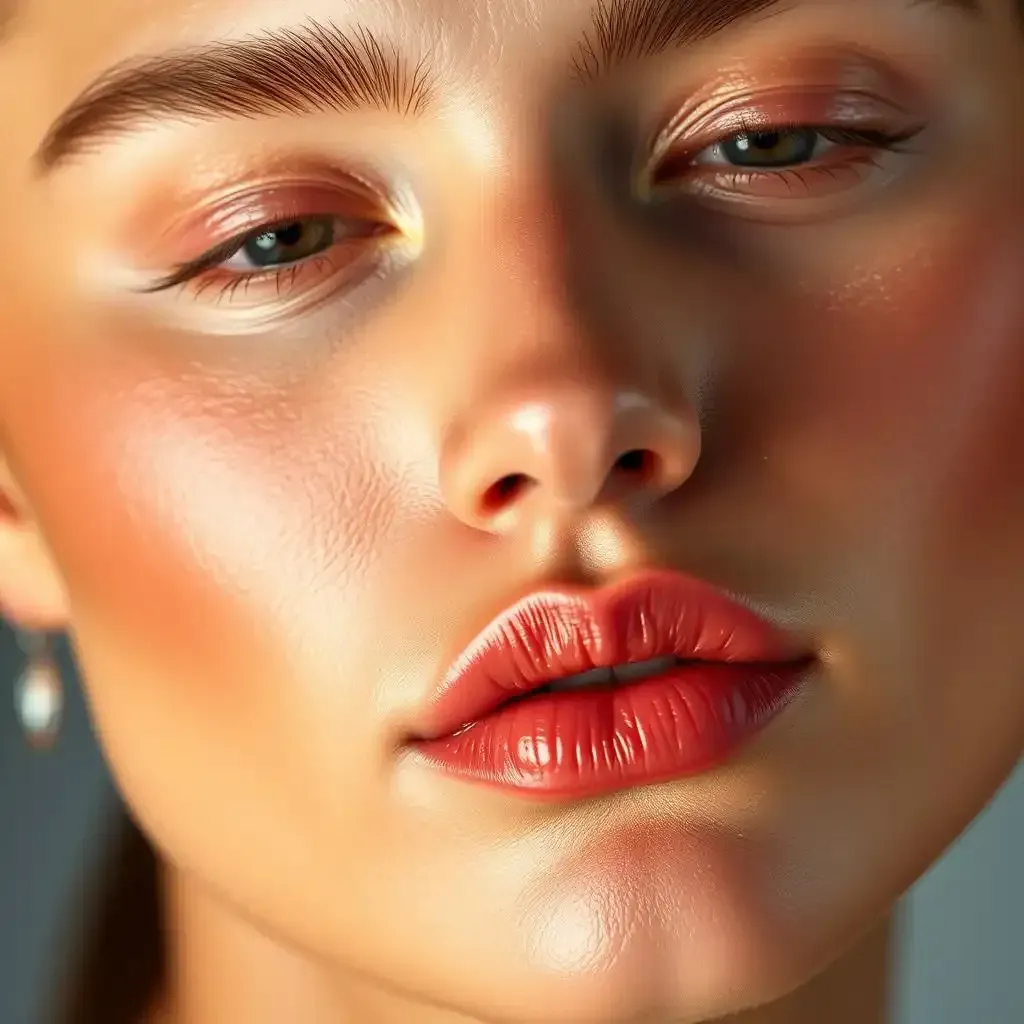
So, you've tried the jelly makeup look, and...it's not quite hitting the mark? Don't worry, you're not alone! I've had my fair share of makeup mishaps. It's like trying to bake a cake – sometimes, even with the best ingredients, things can go wrong. Let's troubleshoot those common problems and get you glowing like a glazed donut.
- Problem: My highlighter looks patchy or streaky.
- Solution: Make sure your skin is well-moisturized and primed. Use a damp beauty blender to blend the highlighter seamlessly. A little goes a long way – start with a tiny amount and build up gradually. Less is more!
- Problem: My makeup feels too heavy or cakey.
- Solution: Choose lightweight products like a BB cream or tinted moisturizer instead of a full-coverage foundation. Layer your products carefully, using a light hand. It's all about that natural, radiant look.
- Problem: My jelly highlight disappears too quickly.
- Solution: Set your makeup with a setting spray. This will help to keep your glow locked in place all day long. It's like adding a protective layer to your cake to stop it from drying out.
Remember, the jelly makeup look is all about achieving that perfect balance of dewy and radiant. It's not about masking your natural beauty, but enhancing it. Don't be afraid to experiment. It's your face – have fun with it!
Problem | Possible Cause | Solution |
|---|---|---|
Uneven application | Improper blending, dry skin | Use a damp sponge, moisturize well |
Too much shine | Over-application of highlighter | Start with a small amount, build gradually |
Makeup fading quickly | Lack of setting spray | Use a setting spray to lock in makeup |
One thing I’ve learned from years of experimenting is that patience is key. Don't expect perfection on your first try. Makeup is an art, and like any art, it takes practice and experimentation to master. The more you practice, the better you’ll get at it!
“The beauty of makeup lies not in concealing flaws, but in enhancing the natural radiance of the skin.” – *Anonymous Makeup Guru*
Final Thought
So there you have it – your complete guide to conquering the jelly makeup look! Remember, practice makes perfect. Don't be afraid to experiment and find what works best for your skin tone and preferences. With a little patience and the right products, you'll be glowing like a glazed donut in no time. Head over to makeuptools.beauty for even more makeup tips and tricks!