Table of Contents
IntroductionHey there, future makeup artists! Ever wanted to look like an angel? Like, seriously angelic? I'm talking ethereal glow, perfectly sculpted features, maybe even a little glitter (because who doesn't love glitter?). Well, you've come to the right place! This article is your guide to creating the ultimate angel makeup look. I'll walk you through it step-by-step, from prepping your skin to adding those final, heavenly touches. Think of me as your personal makeup fairy godmother, here to sprinkle some magic (and maybe a little highlighter) onto your face. We'll explore how to get that radiant base, perfect those winged eyes, and add all those little details that make an angel makeup look truly breathtaking. Get ready to free your inner goddess, because by the end of this, you'll be ready to grace any runway, party, or Halloween event – looking absolutely stunning. Ready to transform yourself? Let's get started! This is gonna be fun, especially if you use the amazing tools from makeuptools.beauty – they're my secret weapon, trust me!
Awesome Angel Makeup Look: A Heavenly Guide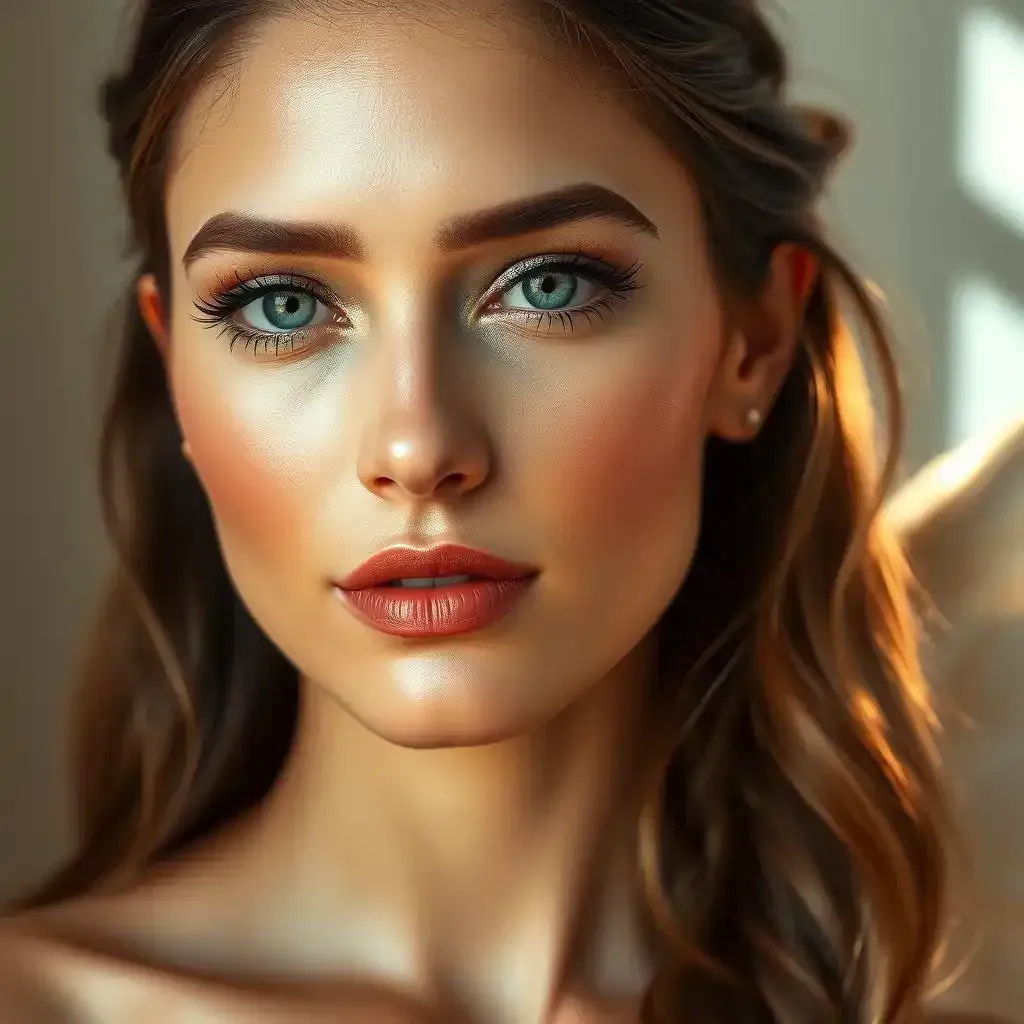
Choosing the Perfect Base for an Angel Makeup Look
Choosing The Perfect Base For An Angel Makeup Look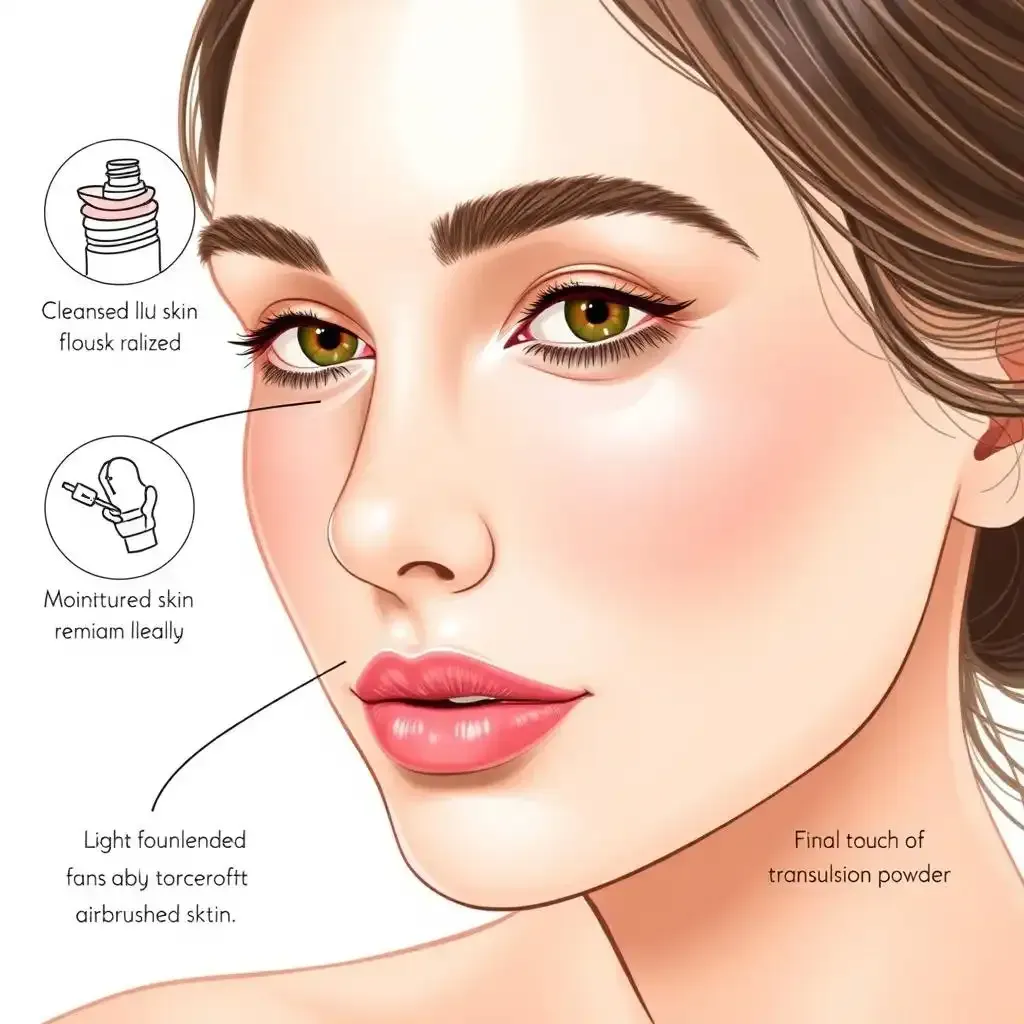
Okay, so you wanna look like an angel, right? That means flawless skin – think porcelain doll, but way cooler. We're not aiming for a ghostly look, more like a radiant, lit-from-within glow. It all starts with the base. First, cleanse and moisturize your face. Think of your face like a canvas; you wouldn't paint on a dirty, dry canvas, would you? A good moisturizer is your primer – it smooths everything out, prepping your skin for makeup. I like to use a light moisturizer, nothing too heavy that'll make my makeup look cakey. After moisturizer, I use a primer. It's like a magic shield, creating a smooth, even surface and helping your makeup last longer. It's a game changer, trust me!
Step | Product | Why it's important |
|---|---|---|
1 | Gentle Cleanser | Removes dirt and oil for a clean base. |
2 | Lightweight Moisturizer | Hydrates skin, prevents dryness and cakiness. |
3 | Primer | Creates a smooth surface, helps makeup last longer. |
Next comes foundation. Now, don't panic! You don't need a ton of it. A little goes a long way. Choose a shade that matches your skin tone perfectly. Blend, blend, blend! Use a makeup sponge or brush for seamless application. You want a natural look, not a mask. Think of it as sculpting your face, not covering it up. And remember, less is more! A sheer, natural coverage is key for that ethereal angel vibe. Once your foundation is set, don't forget to set it with powder. A translucent powder is your best bet to avoid looking too powdery. It keeps everything in place and prevents shine. I personally love using a big, fluffy brush for this step; it gives a really soft, airbrushed finish.
- Cleanse your face thoroughly.
- Moisturize for a hydrated base.
- Apply primer for a smooth canvas.
- Choose the right shade of foundation.
- Blend perfectly for a natural finish.
- Set with translucent powder for a lasting look.
Creating the Wings: Techniques and Tips for an Angel Makeup Look
Creating The Wings Techniques And Tips For An Angel Makeup Look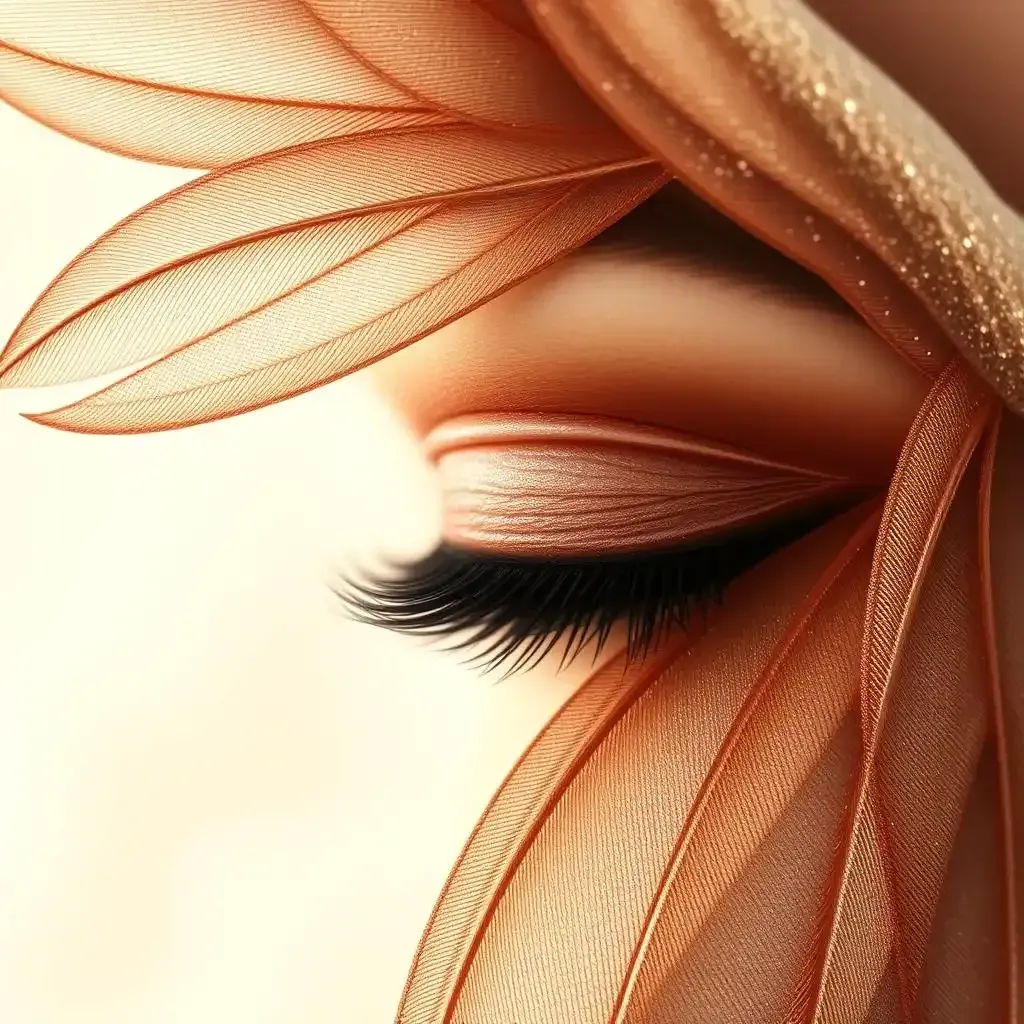
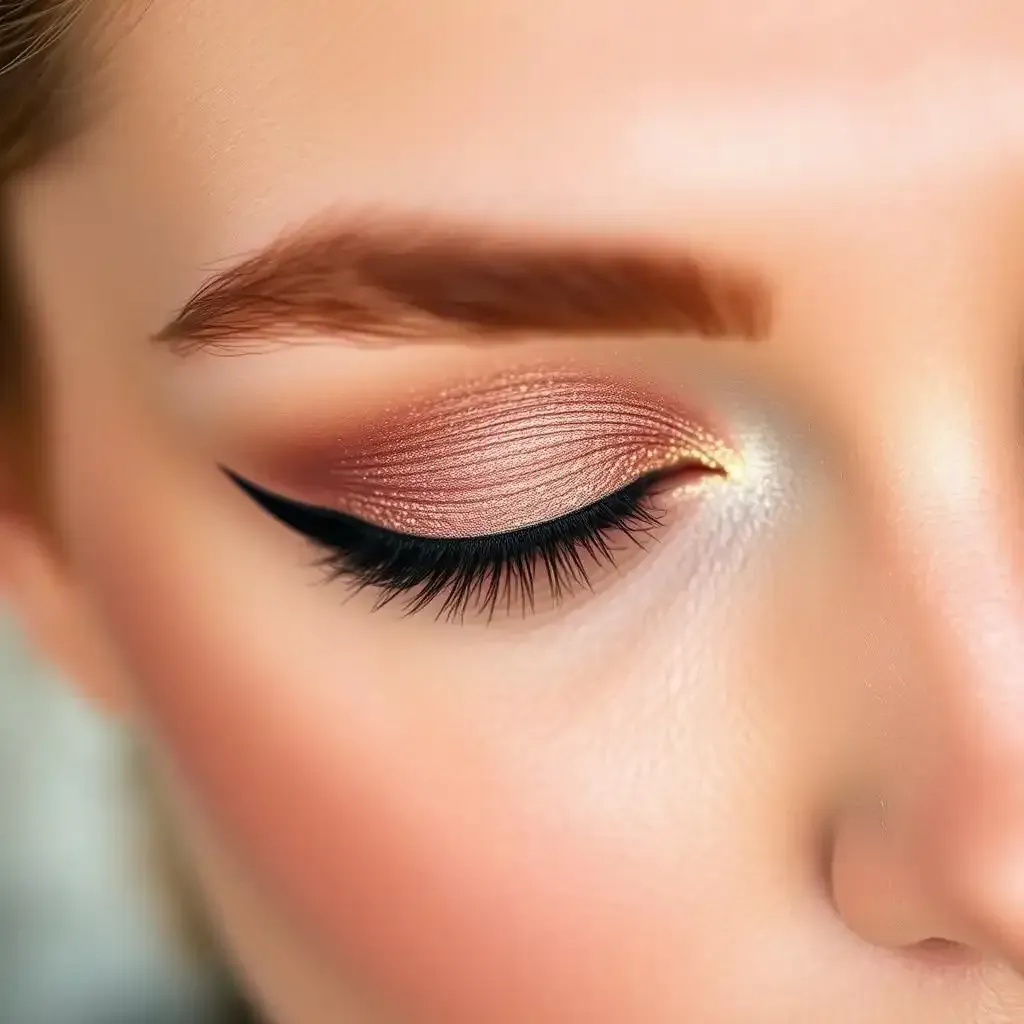
Alright, let's talk wings! Because what's an angel without those gorgeous, feathery wings? Now, I'm not talking about actual wings (unless you're really committed to the look, in which case, go for it!), I'm talking about eyeliner wings. Think of them as the finishing touch, the *je ne sais quoi* of your angel makeup. They're the frame for your beautiful eyes, adding a touch of drama and elegance. We're going for a soft, delicate wing, not a sharp, harsh one. We want something ethereal, not intimidating. Start with a good quality liquid eyeliner. I find that a felt-tip liner gives the most control. Don't worry if it's not perfect the first time; practice makes perfect! Imagine you're drawing a tiny, delicate bird in flight, the wingtips gently curving upwards.
- Start with a thin line, close to your lash line.
- Extend the line slightly beyond the outer corner of your eye.
- Gently curve the line upwards, creating a wing shape.
- Fill in the wing with color.
- Use a cotton swab to clean up any mistakes.
Once you've got your wing shape, carefully fill it in with color. Don’t be afraid to use a little shimmer or glitter for that extra touch of magic. But remember, less is more! A little goes a long way with glitter. Too much glitter, and you'll look more like a disco ball than an angel. If you're feeling adventurous, try using a different color eyeliner than black, like brown, navy, or even a soft purple. It can create a really unique and beautiful look. Just make sure it complements the rest of your makeup. And always, always, blend! A slightly smudged wing looks more natural and less harsh.
Eyeliner Type | Pros | Cons |
|---|---|---|
Liquid Eyeliner | Precise lines, long-lasting | Can be tricky for beginners |
Gel Eyeliner | Easy to blend, versatile | Requires a brush |
Pencil Eyeliner | Easy to apply, good for beginners | Not as precise as liquid |
Enhancing Your Eyes for an Angel Makeup Look
Heavenly Eyeshadow
Okay, so we've got the perfect base, and killer eyeliner wings. Now it's time to focus on the windows to the soul – your eyes! For that angelic glow, you need eyeshadow that's light, shimmery, and oh-so-dreamy. Think pearly whites, soft pinks, or delicate lavenders. Avoid anything too dark or dramatic – we're going for ethereal, remember? I usually start with a light, neutral shade all over my lid as a base. It's like prepping your canvas before you start painting a masterpiece. Then, I add a shimmery shade in the center of my eyelid to catch the light. It's like adding a little sparkle to your eyes, making them pop! Finally, I add a touch of a darker shade in the crease to add some definition. It's subtle, but it makes a big difference. A little goes a long way here, and blending is key. Think soft, blended colors, not harsh lines. You want your eyeshadow to look like a soft, dreamy haze.
- Choose light, shimmery eyeshadow shades.
- Apply a neutral base shade all over the lid.
- Add a shimmery shade to the center of the lid.
- Use a darker shade in the crease for definition (optional).
- Blend, blend, blend!
Mascara Magic
Next up: mascara! Mascara is your secret weapon for making your eyes look bigger, brighter, and more awake. For an angel look, you want long, luscious lashes that flutter like tiny, delicate wings. Apply two coats of mascara to your upper lashes, wiggling the wand from root to tip. This helps to coat every lash individually, giving you maximum volume and length. You can add a coat or two to your lower lashes, but don't overdo it – you want a natural look, not a spider-leg effect! If your lashes are naturally short or sparse, consider using an eyelash curler before applying mascara. It's a simple trick that makes a huge difference. It lifts your lashes, making your eyes appear more open and bright. You might also consider using some falsies if you want extra drama. But remember, keep it natural-looking. We're aiming for an angel, not a drag queen!
Mascara Type | Effect | Angel Look Suitable? |
|---|---|---|
Volumizing | Adds thickness | Yes, but use sparingly |
Lengthening | Adds length | Yes, perfect for an angelic flutter |
Curling | Lifts and curls lashes | Yes, a great pre-mascara step |
Adding the Final Touches to Your Angel Makeup Look
Adding The Final Touches To Your Angel Makeup Look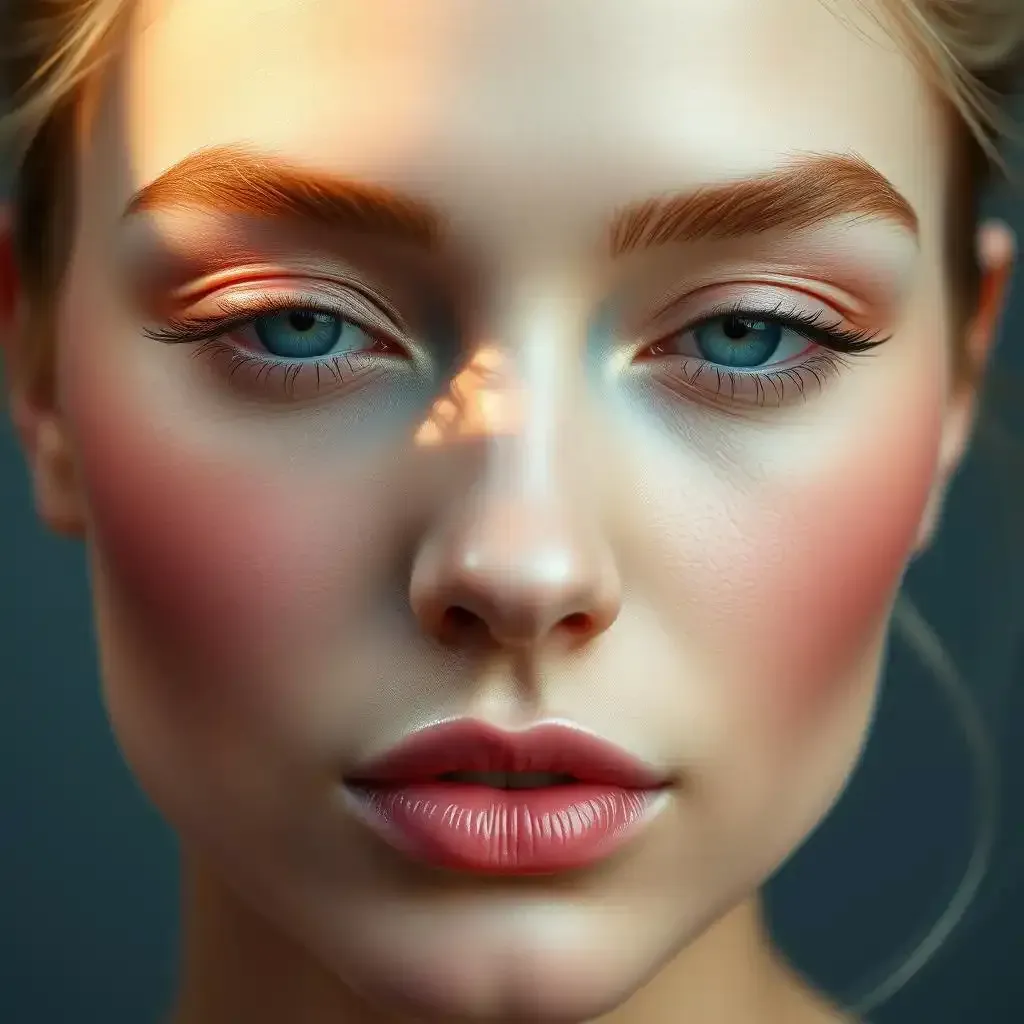
Blush and Highlight: Achieving that Heavenly Glow
We're almost there! Think of blush and highlight as the finishing touches on a masterpiece – they add depth and dimension, bringing your angelic look to life. For blush, choose a delicate pink or peach shade. Apply it lightly to the apples of your cheeks, blending upwards towards your temples. Don't overdo it; you want a soft, natural flush, not a clownish look. I like to use a fluffy brush for this – it gives a really soft, diffused look. Think of it like a gentle sunrise on your cheeks, a soft rosy hue that adds warmth and life to your face. It's all about that ethereal glow, that "I just woke up like this" kind of radiance. Remember, less is more. A little bit of blush goes a long way. You want to enhance your natural beauty, not mask it.
- Choose a soft pink or peach blush.
- Apply lightly to the apples of your cheeks.
- Blend well towards your temples.
- Use a fluffy brush for a soft finish.
Setting Spray: Sealing the Deal
The final step – and perhaps the most important one – is setting spray. This magical potion locks everything in place, ensuring your angel makeup stays put all day long. It also adds a subtle glow, enhancing the overall ethereal effect. Lightly mist your face with setting spray, holding the bottle about 8 inches away. Close your eyes to avoid getting any spray in them. Let it dry naturally; don't rub it in. Think of setting spray as the invisible glue that holds your entire look together. It keeps everything fresh and flawless, preventing smudging and fading. Once it's dry, you're officially ready to release your inner angel! Go forth and conquer the world (or at least, your next Instagram post) looking absolutely stunning. Remember that practice makes perfect. Don't get discouraged if your first attempt isn't perfect. Keep practicing, and you'll soon be a pro at creating the perfect angel makeup look.
Product | Purpose | Application Tip |
|---|---|---|
Blush | Adds a touch of color to the cheeks | Blend well for a natural look |
Highlight | Adds dimension and glow | Apply to high points of the face |
Setting Spray | Sets makeup, adds a subtle glow | Hold the bottle 8 inches away |