Table of Contents
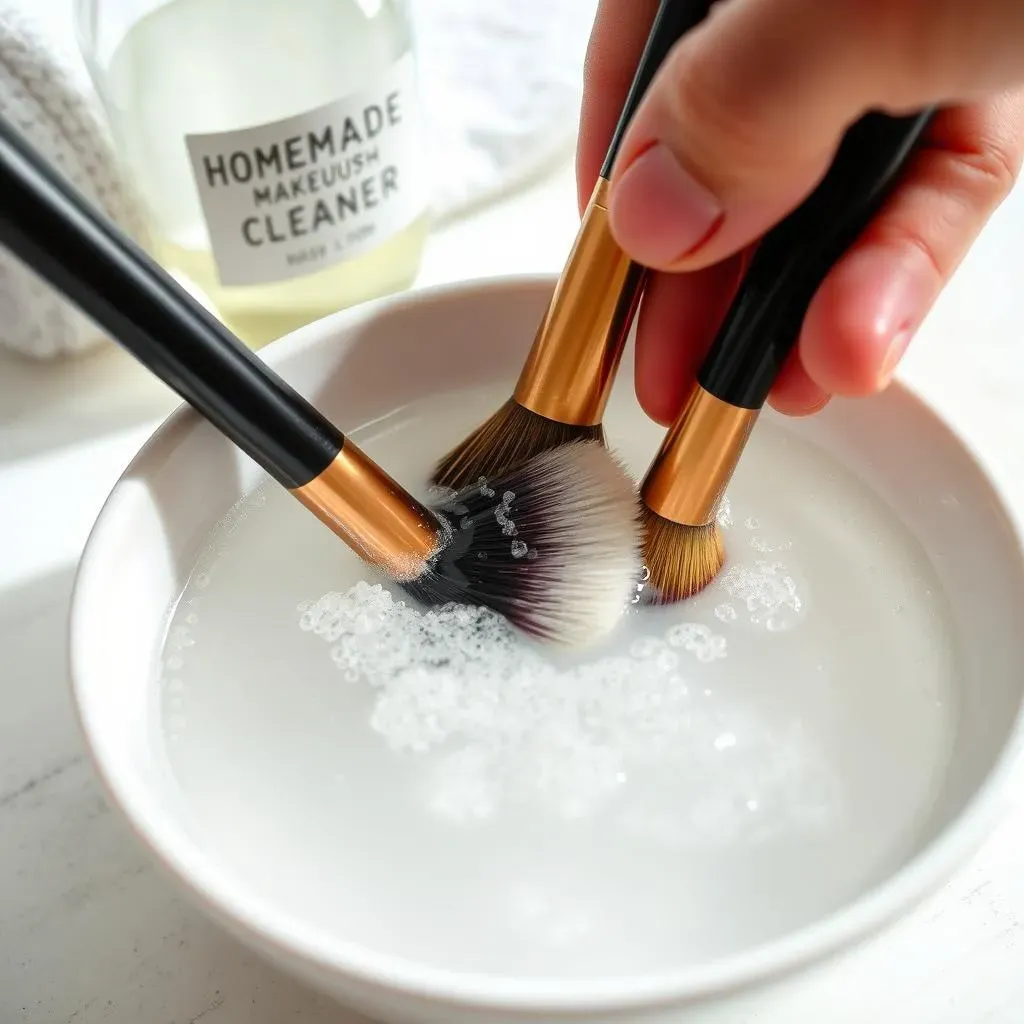
Are your makeup brushes looking a little worse for wear? Caked in product and collecting dust? You're not alone! Many of us neglect this essential part of our beauty routine, but did you know that dirty brushes can harbor bacteria, leading to breakouts and skin irritation? That's where the magic of a homemade makeup brush cleaner comes in.
Why Cleaning Your Makeup Brushes Matters
Why Cleaning Your Makeup Brushes Matters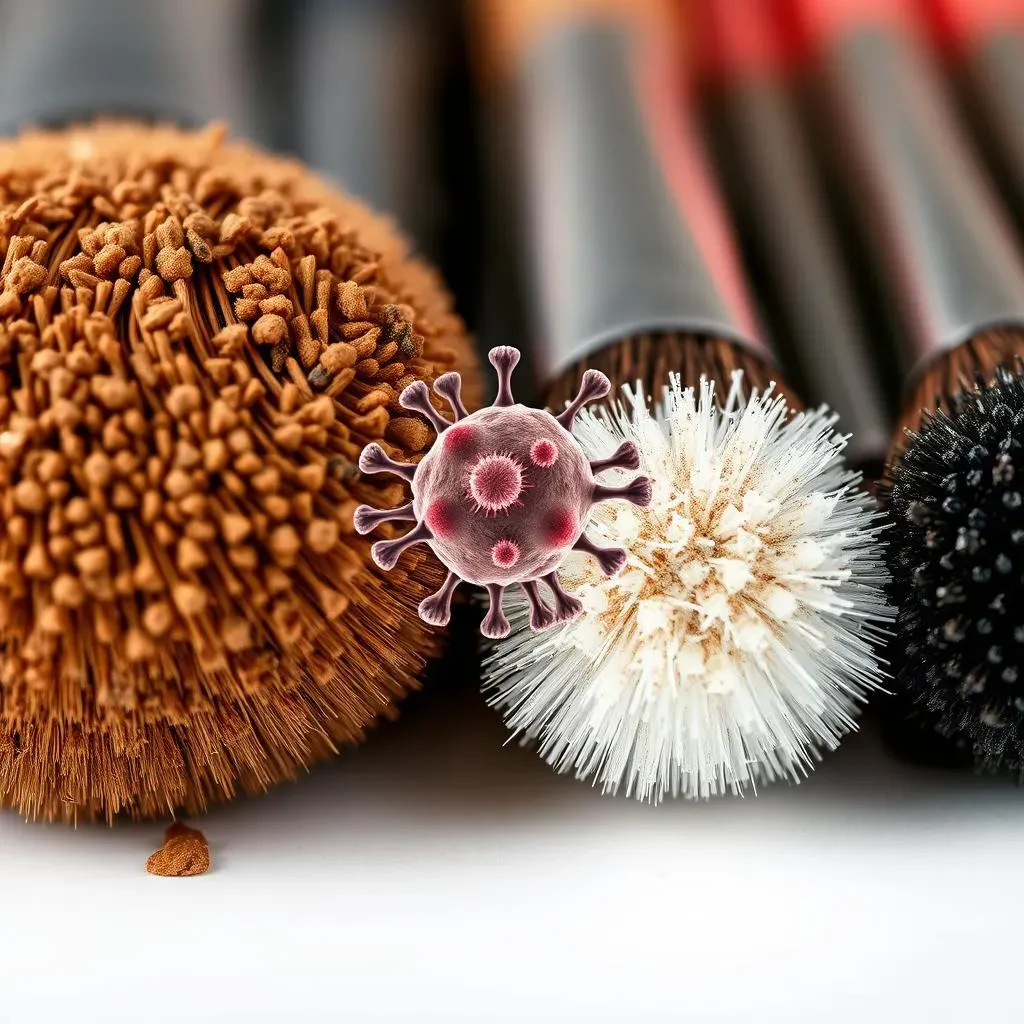
The Germ Factor: Bacteria and Your Skin
Think about it: your makeup brushes are constantly coming into contact with your makeup, your skin, and the environment. This creates the perfect breeding ground for bacteria, fungi, and other nasty organisms. Every time you use a dirty brush, you're essentially transferring these germs onto your face, which can lead to clogged pores, breakouts, and even more serious skin infections.
I know, it's a little gross to think about, but it's the truth! And it's not just about acne. Dirty brushes can also exacerbate existing skin conditions like eczema and rosacea. So, if you're experiencing persistent skin problems, despite a good skincare routine, your makeup brushes might be the culprit.
Beyond Breakouts: Other Health Concerns
While acne is a common concern, the risks of using dirty makeup brushes extend beyond just pimples. Think about eye infections like conjunctivitis (pinkeye). Brushes used around the eyes can easily pick up and transfer bacteria, leading to uncomfortable and potentially vision-threatening infections. And let's not forget about the potential for spreading viruses like herpes simplex (cold sores). Sharing makeup or using dirty brushes after a cold sore outbreak can easily transmit the virus to your brushes and then to other parts of your face or to other people.
Honestly, I've heard horror stories from dermatologists about the kinds of infections they've seen from dirty makeup brushes. It's enough to make you want to clean your brushes every single day!
Problem | Cause | Solution |
|---|---|---|
Acne Breakouts | Bacteria buildup in brushes | Regular cleaning with antibacterial soap |
Eye Infections | Transfer of bacteria to the eye area | Clean brushes after each use of eye makeup |
Skin Irritation | Allergens and irritants trapped in brushes | Use hypoallergenic brush cleaner |
Brush Performance and Makeup Application
It's not just about hygiene; clean brushes also perform better! When your brushes are loaded with old makeup, they become stiff and less effective at blending. This can result in a streaky, uneven makeup application, and it can also waste your product. Think about it – the bristles are already coated with old makeup, so they can't pick up as much new product.
Plus, clean brushes feel so much nicer on your skin! Dirty brushes can feel scratchy and irritating, especially if you have sensitive skin. Using clean, soft brushes makes the whole makeup application process more enjoyable and gives you a more flawless finish. It's a win-win!
DIY Homemade Makeup Brush Cleaner Recipes: Natural & Effective
DIY Homemade Makeup Brush Cleaner Recipes: Natural & Effective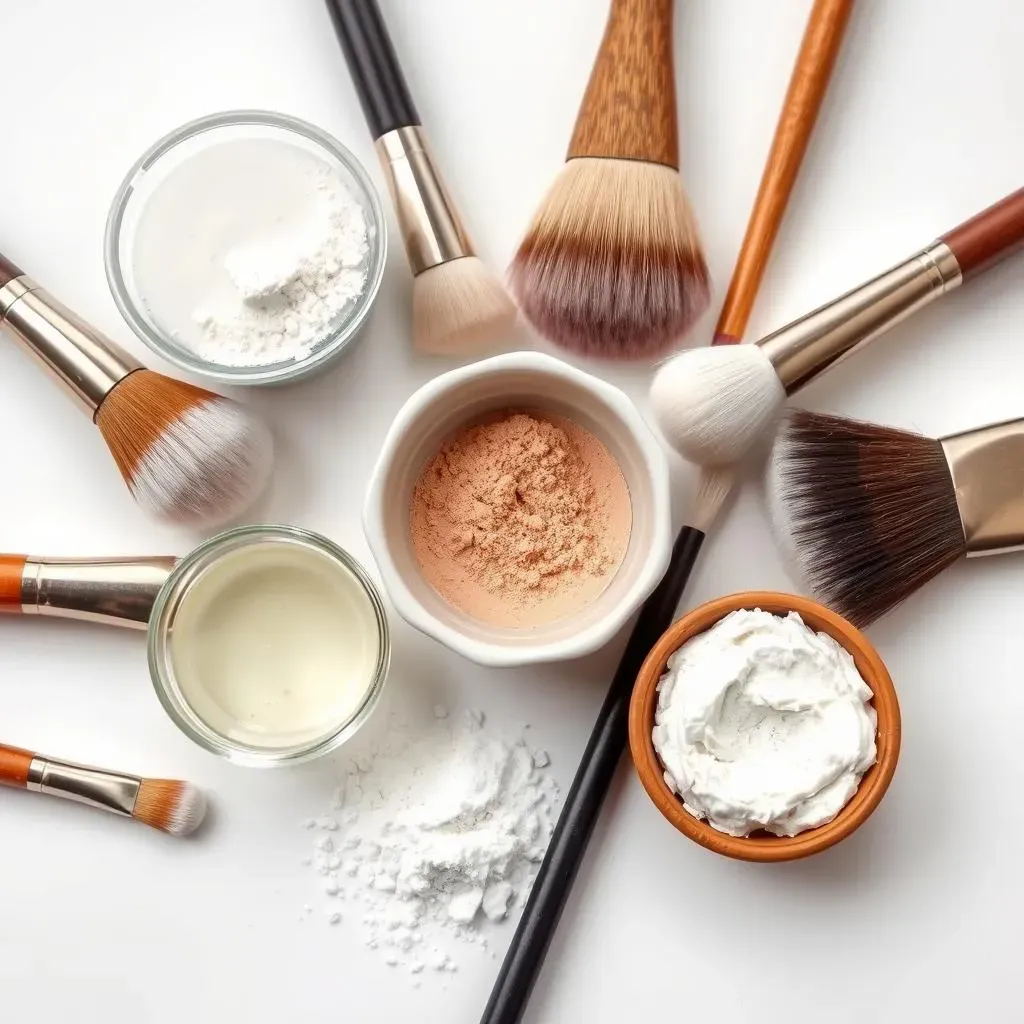
Alright, let's get to the good stuff – the recipes! The beauty of making your own brush cleaner is that you can customize it to your skin type and use ingredients you likely already have. These DIY recipes are not only effective at removing makeup and killing bacteria, but they're also gentle on your brushes and the environment. I've tried all of these myself, and I can vouch for their effectiveness. Plus, it's so satisfying knowing exactly what's going on your brushes and, ultimately, your face.
Whether you're battling sensitive skin or just trying to be more eco-conscious, there's a recipe here for you. Each recipe uses a combination of cleansing and conditioning agents to break down makeup residue while keeping your bristles soft and pliable. And the best part? You can whip up a batch in just a few minutes!
Recipe 1: Castile Soap & Olive Oil
This is my go-to for a gentle yet effective clean. Castile soap is a natural, vegetable-based soap that's incredibly versatile. Olive oil helps to condition the bristles, preventing them from becoming dry and brittle. It's like a spa day for your brushes!
Ingredients:
- 2 parts Castile soap (unscented)
- 1 part Olive oil
Instructions:
- Mix the soap and olive oil in a small bowl.
- Dampen your brush with warm water.
- Dip the brush into the mixture and swirl it around in the palm of your hand to create a lather.
- Rinse the brush thoroughly with warm water until the water runs clear.
- Reshape the bristles and lay the brush flat to dry.
Recipe 2: Witch Hazel & Grapeseed Oil
Witch hazel is a natural astringent and antiseptic, making it great for killing bacteria and removing stubborn makeup. Grapeseed oil is a light, non-greasy oil that helps to condition the bristles without leaving them feeling oily.
Ingredients:
- 2 parts Witch hazel (alcohol-free)
- 1 part Grapeseed oil
Instructions:
- Mix the witch hazel and grapeseed oil in a small spray bottle.
- Spray the mixture directly onto your brush bristles.
- Swirl the brush around on a clean cloth or paper towel to remove makeup residue.
- Repeat until the brush is clean.
- Allow the brush to air dry completely.
Recipe 3: Baking Soda Paste
For a deeper clean, especially for brushes used with cream or liquid products, baking soda is your friend. It's a mild abrasive that helps to loosen and remove stubborn makeup buildup.
Ingredients:
- Baking soda
- Water
Instructions:
- Mix baking soda with a small amount of water to create a paste.
- Dampen your brush with warm water.
- Apply the baking soda paste to the brush bristles and swirl it around in the palm of your hand.
- Rinse the brush thoroughly with warm water until the water runs clear.
- Reshape the bristles and lay the brush flat to dry.
Recipe 4: Tea Tree Oil Blend
If you're prone to breakouts or have oily skin, tea tree oil is a fantastic addition to your brush cleaner. It's a natural antibacterial and antifungal agent that can help to prevent acne and other skin infections.
Ingredients:
- 1 cup Warm water
- 1 teaspoon Gentle shampoo or castile soap
- 2-3 drops Tea tree oil
Instructions:
- Combine all ingredients in a bowl.
- Swirl your brushes in the mixture, ensuring the bristles are fully saturated.
- Rinse thoroughly with clean, warm water.
- Gently squeeze out excess water and reshape the bristles.
- Lay brushes flat to dry on a clean towel.
Recipe | Key Ingredients | Benefits | Best For |
|---|---|---|---|
Castile Soap & Olive Oil | Castile Soap, Olive Oil | Gentle, moisturizing | All skin types, dry brushes |
Witch Hazel & Grapeseed Oil | Witch Hazel, Grapeseed Oil | Astringent, light | Oily skin, quick cleaning |
Baking Soda Paste | Baking Soda, Water | Deep cleaning | Stubborn makeup buildup |
Tea Tree Oil Blend | Tea Tree Oil, Gentle Soap | Antibacterial, antifungal | Acne-prone skin |
StepbyStep Guide to Cleaning Your Brushes at Home
StepbyStep Guide to Cleaning Your Brushes at Home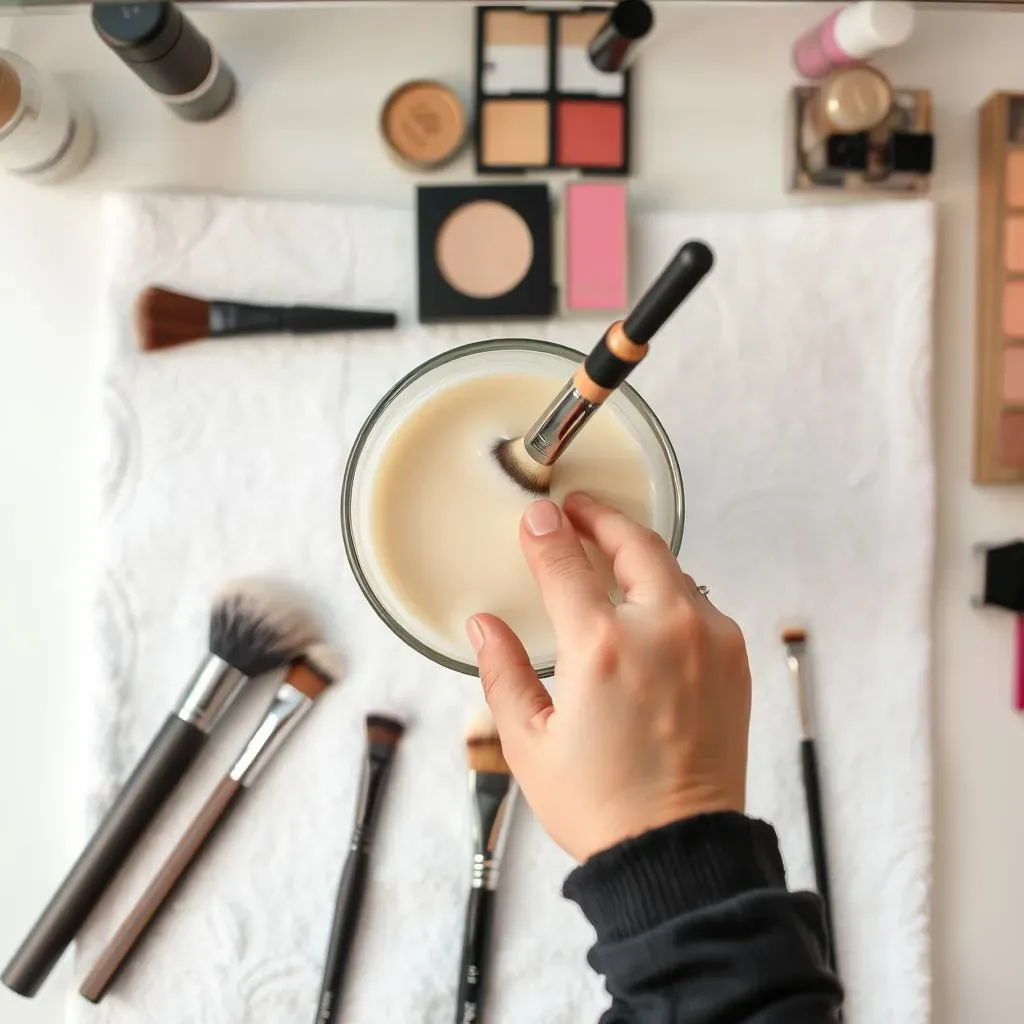
Gather Your Supplies
Before you even think about getting your brushes wet, it's crucial to have everything you need within arm's reach. Trust me, there's nothing worse than realizing you're out of soap halfway through cleaning a dozen brushes! So, what do you need? First, choose your favorite homemade makeup brush cleaner recipe from the previous section. Then, grab a small bowl or dish to mix your cleaner, a clean towel or paper towels, and a brush cleaning mat or your palm (for swirling the brushes). Finally, make sure you have access to warm, running water. Having all these supplies ready will make the process smooth and efficient.
Think of it like prepping for a cooking show – mise en place is key! I like to lay out all my brushes on the towel, almost like a little brush army ready for their spa treatment. It makes the whole process feel a little less like a chore and a little more like a self-care ritual.
- Your chosen homemade makeup brush cleaner
- Small bowl or dish
- Clean towel or paper towels
- Brush cleaning mat (optional)
- Warm, running water
The Cleaning Process: Step-by-Step
now for the fun part! Start by wetting the bristles of your brush with warm water. Be careful not to get water up into the ferrule (the metal part that connects the bristles to the handle), as this can loosen the glue and cause your brush to shed. Next, pour a small amount of your homemade makeup brush cleaner into your bowl or dish. Gently swirl the brush in the cleaner, using your brush cleaning mat or the palm of your hand to create a lather and work the cleaner into the bristles. You'll be amazed (and maybe a little disgusted) at how much makeup comes out!
Once you've thoroughly cleaned the bristles, rinse the brush under warm, running water until the water runs clear. Gently squeeze out any excess water and reshape the bristles with your fingers. Lay the brush flat on a clean towel to dry. Avoid standing the brushes upright in a cup, as this can also cause water to seep into the ferrule and damage the brush. Repeat this process for all of your brushes, and voila! You'll have a sparkling clean set of makeup brushes ready for your next application.
Pro Tip: For heavily soiled brushes, you may need to repeat the cleaning process a couple of times. Don't be afraid to give those brushes some extra love!
Step | Action | Why |
|---|---|---|
1 | Wet Bristles (Avoid the Ferrule) | Prevents damage to brush construction |
2 | Swirl in Homemade Makeup Brush Cleaner | Lifts away makeup and grime |
3 | Rinse Until Water Runs Clear | Ensures all cleaner and residue are removed |
4 | Reshape and Lay Flat to Dry | Maintains brush shape and prevents damage |
Maintaining Your Brushes: Drying, Storage, and LongTerm Care
Maintaining Your Brushes: Drying, Storage, and LongTerm Care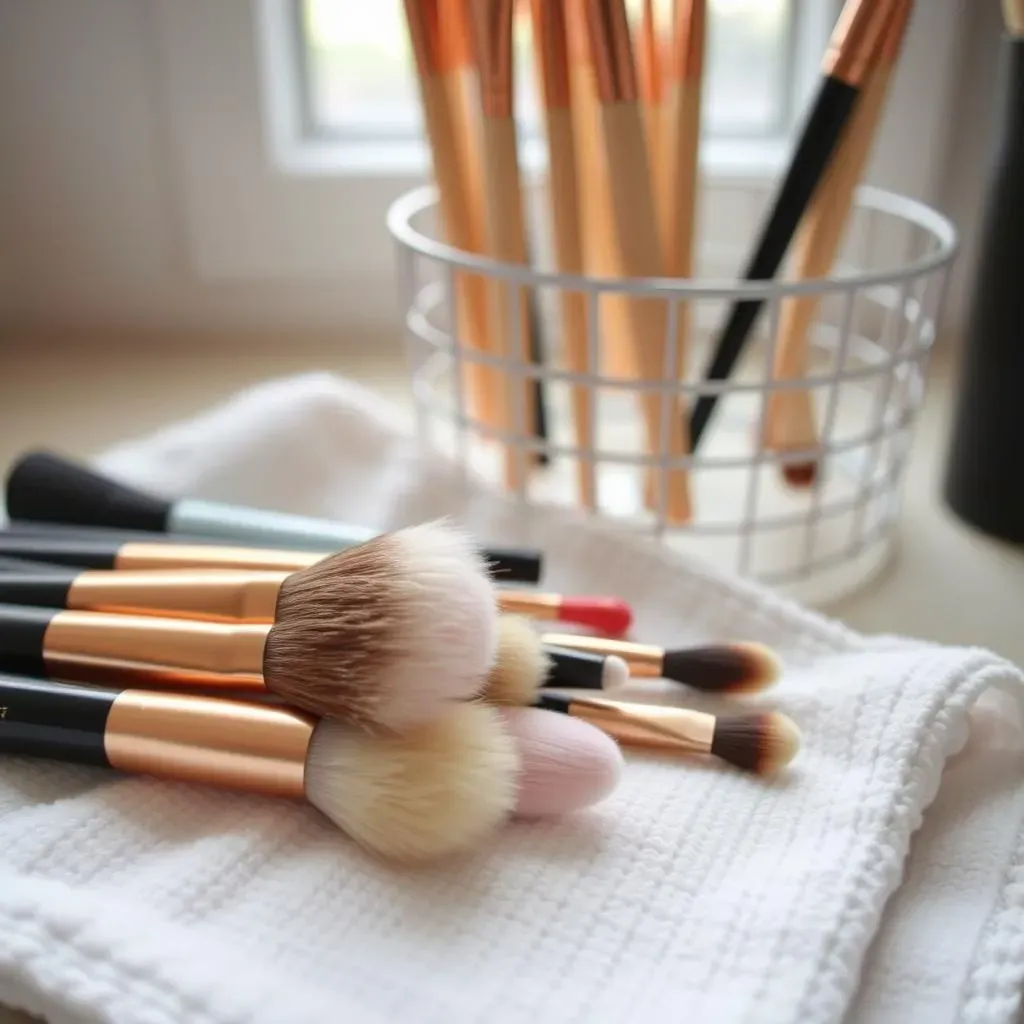
The Right Way to Dry Your Brushes
so you've cleaned your brushes, congrats! But the drying process is just as important as the cleaning itself. Whatever you do, don't just toss your wet brushes into a drawer or stand them upright in a cup. This can lead to mildew growth and damage the glue that holds the bristles in place. The best way to dry your brushes is to lay them flat on a clean towel, with the bristles hanging over the edge of the counter. This allows air to circulate around the bristles and helps them dry evenly. You can also use a brush drying rack, which is designed to hold the brushes upside down, allowing water to drain away from the ferrule.
I know it can be tempting to speed up the drying process with a hairdryer, but resist the urge! The heat can damage the bristles and shorten the lifespan of your brushes. Just be patient and let them air dry naturally. It usually takes anywhere from a few hours to overnight for brushes to dry completely, depending on their size and thickness.
Pro Tip: Reshape the bristles of your brushes with your fingers while they're still damp. This will help them maintain their shape and prevent them from becoming splayed or misshapen.
Smart Storage Solutions
Once your brushes are completely dry, it's time to think about storage. Proper storage is essential for protecting your brushes from dust, dirt, and damage. Avoid just tossing your brushes into a makeup bag where they can get crushed and bent out of shape. Instead, consider using a brush holder or organizer to keep them upright and separated. This will prevent the bristles from becoming frayed and will also make it easier to find the brush you need.
If you're traveling, invest in a brush roll or case to protect your brushes from damage during transit. These cases are designed to hold each brush individually, preventing them from rubbing against each other and becoming damaged. You can also store your brushes in a drawer or cabinet, but make sure they're not crammed in too tightly. Give them some breathing room to prevent the bristles from becoming bent or misshapen.
My Personal Preference: I actually keep my most-used brushes in individual sleeves. This keeps them in tip-top shape and ready for action!
Extending the Life of Your Brushes: Long-Term Care
Beyond regular cleaning and proper storage, there are a few other things you can do to extend the life of your makeup brushes. Avoid using harsh chemicals or abrasive cleaners on your brushes, as these can damage the bristles and shorten their lifespan. Stick to gentle, natural cleaners like the homemade makeup brush cleaner recipes we discussed earlier. Also, be gentle when cleaning your brushes. Avoid scrubbing too hard or pulling on the bristles, as this can cause them to break or fall out.
If you notice any loose bristles, trim them carefully with scissors. Don't try to pull them out, as this can damage the brush further. And finally, replace your brushes every few years, or sooner if they start to show signs of wear and tear. Over time, the bristles can become frayed and lose their shape, making it difficult to achieve a flawless makeup application.
Did you know? Some high-quality brushes can last for decades with proper care! It's an investment in your beauty routine.
Care Tip | Description | Benefit |
|---|---|---|
Gentle Cleaning | Use mild, natural cleaners. | Prevents damage to bristles. |
Avoid Harsh Chemicals | Don't use abrasive cleaners. | Extends brush lifespan. |
Trim Loose Bristles | Carefully cut stray hairs. | Maintains brush shape. |
Replace Regularly | Replace brushes every few years. | Ensures optimal performance. |
Conclusion: Embrace the Clean Brush Revolution
So, there you have it! Ditching the store-bought stuff and embracing a homemade makeup brush cleaner isn't just about saving money (though that's a definite perk). It's about taking control of the ingredients you're putting on your skin, reducing your environmental impact, and extending the life of your beloved makeup brushes. With these simple recipes and techniques, you can easily incorporate clean brush habits into your routine, ensuring a flawless application and a healthier complexion. Give these DIY cleaners a try and experience the difference for yourself. Your skin will thank you!