Table of Contents
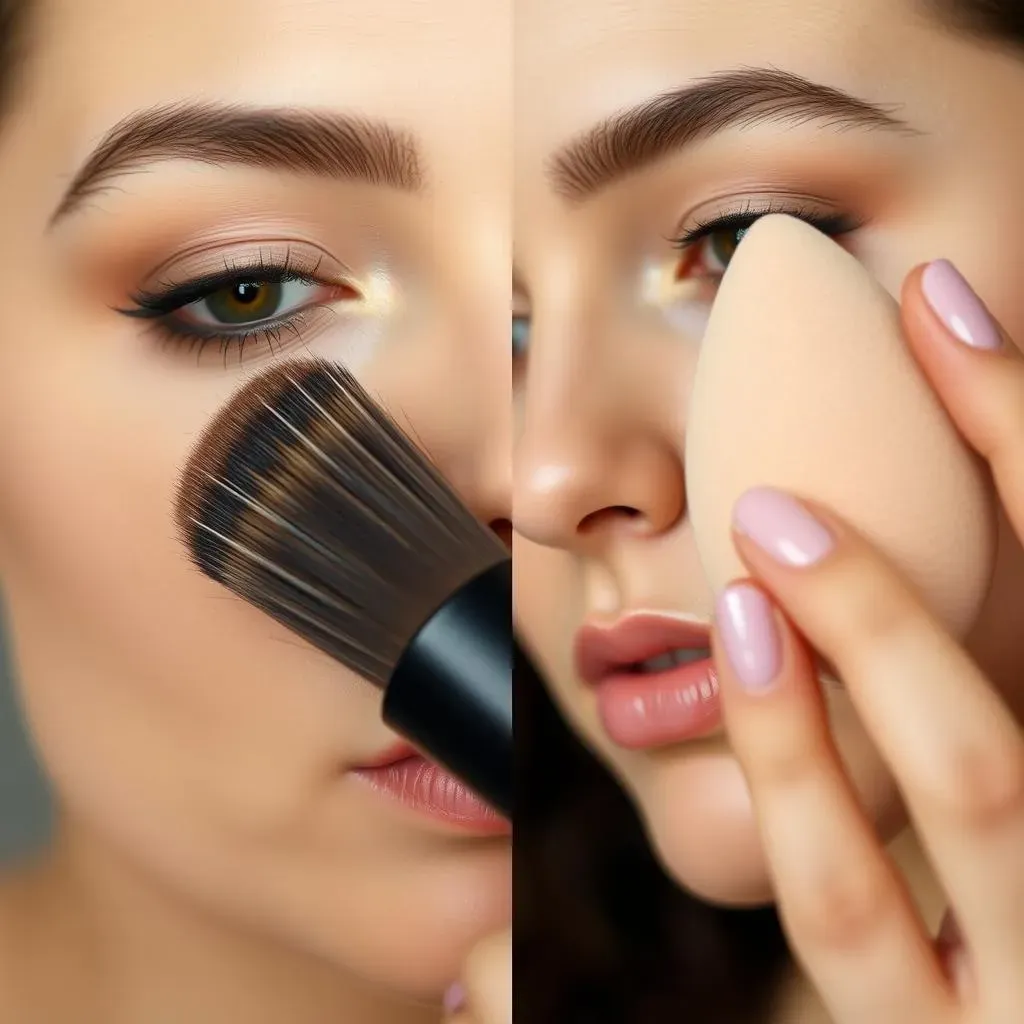
Navigating the world of makeup can feel like deciphering a secret code. Brushes, sponges, fingers – so many tools, so little clarity. Are you constantly questioning whether to reach for a makeup brush vs sponge? Or are you unsure which one will actually give you that flawless finish you're after? You're not alone. Many makeup enthusiasts find themselves in this very predicament. But fear not! This guide is here to break down the confusion and empower you to make the right choice for your skin, your products, and your desired look. We'll explore the strengths of each tool, when to use them, and even when to embrace the original applicators: your fingers. Get ready to unlock the secrets to a perfect application, every single time. Let's dive in and discover the best way to achieve your makeup goals, whether it's with a brush, a sponge, or a little bit of both.
Makeup Brush vs. Sponge: An Expert's Take
Makeup Brush vs. Sponge: An Expert's Take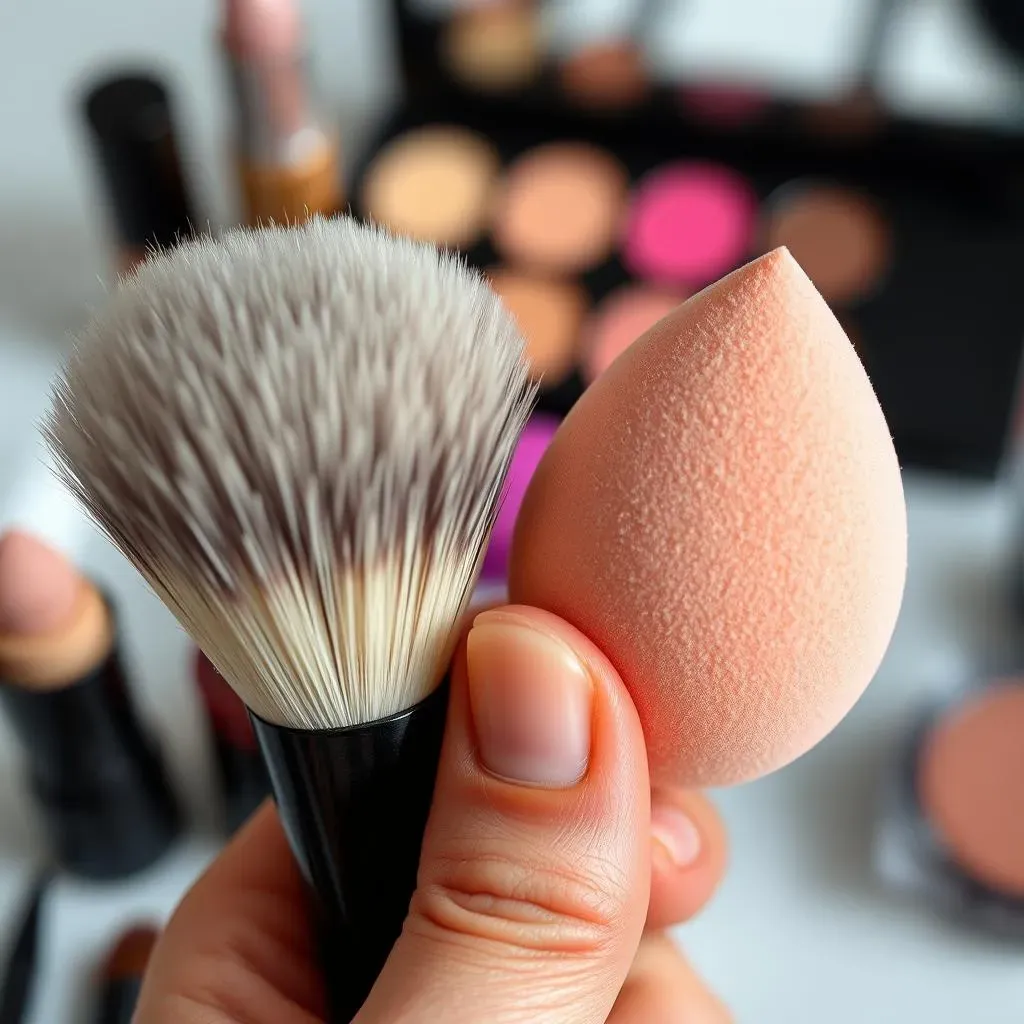
So, you're diving into the makeup brush vs. sponge debate, huh? It's a classic! The truth is, there's no single "right" answer. According to makeup artist Abraham Sprinkle, the best tool really depends on the product you're using, the formula of that product, and the finish you're trying to achieve. Think of it like this: you wouldn't use a butter knife to saw a log, right? Same principle applies here. Some products just work better with certain applicators. It's all about understanding the nuances and finding what works best for you. Don't be afraid to experiment!
When to Grab a Makeup Brush: Precision and Power
When to Grab a Makeup Brush: Precision and Power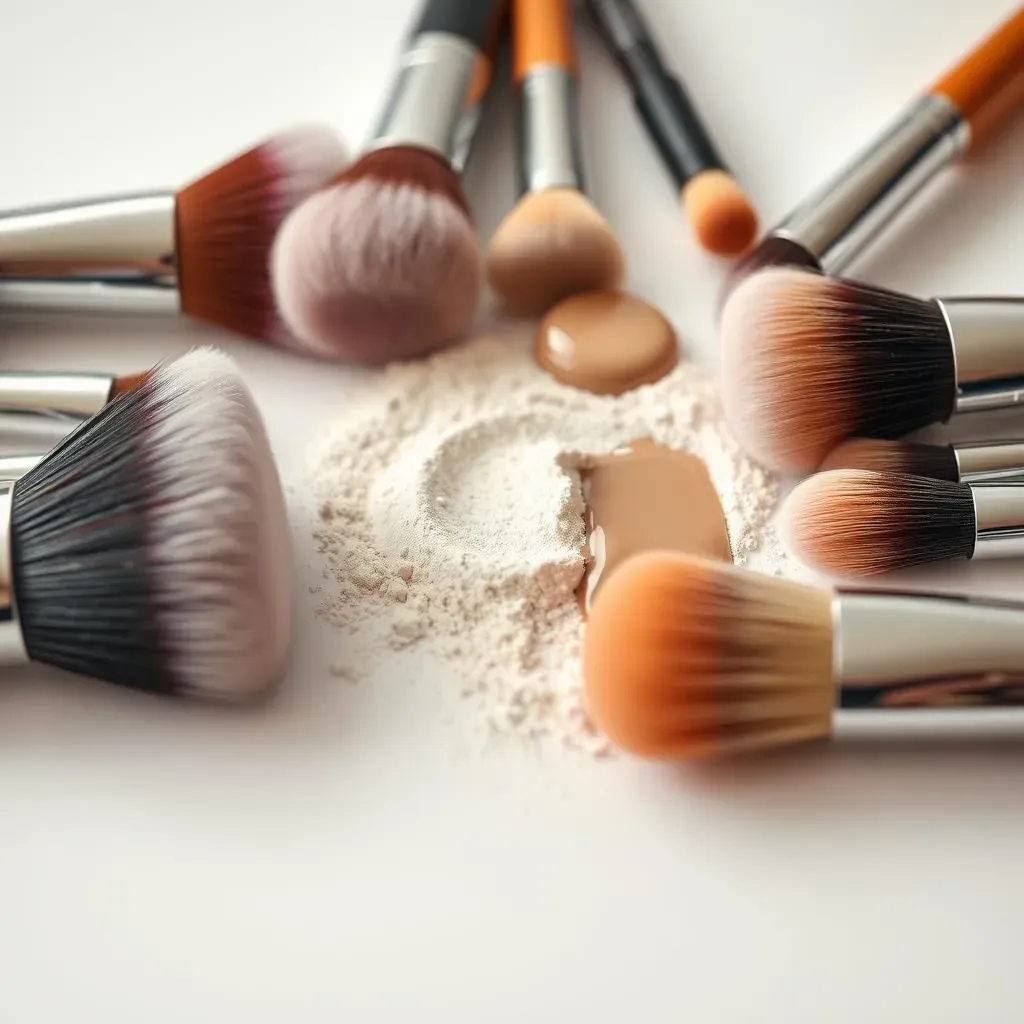
so when's a brush your best friend? Think precision. If you're aiming for a sharp contour, a defined eyeshadow look, or a pop of color exactly where you want it, brushes are your go-to. They offer unparalleled control, allowing you to sculpt and define with accuracy. Plus, brushes are fantastic for building intensity. Want a bold, vibrant blush? A brush will help you layer the product for maximum impact. It's like being an artist with a fine-tipped paintbrush – you're in charge of every stroke.
Consider brushes your secret weapon for powder products. Blush, setting powder, highlighter – all of these apply like a dream with a brush. The bristles pick up the perfect amount of product and distribute it evenly across your skin. Try achieving that level of control with a sponge and let me know how it goes! You will find that brushes are also easier to clean and more hygienic in the long run (more on that later!).
Product Type | Recommended Brush | Why It Works |
|---|---|---|
Blush | Angled Brush | Fits the contours of the cheeks for precise application. |
Setting Powder | Large, fluffy brush | Distributes powder evenly for a natural, set finish. |
Eyeshadow | Small, detail brush | Allows for controlled placement and blending in small areas. |
Now, let's talk liquid foundations. If you're going the liquid route, synthetic brushes are your best bet. Natural bristles can absorb too much product, leading to wasted makeup and a streaky finish. Synthetic brushes, on the other hand, are non-absorbent and create a smooth, even canvas. Also, make sure the brush density matches the thickness of your foundation. A dense brush works well with thicker formulas, while a less dense brush is ideal for lighter, more fluid foundations.
Sponge It Up: Achieving a Seamless Blend
Sponge It Up: Achieving a Seamless Blend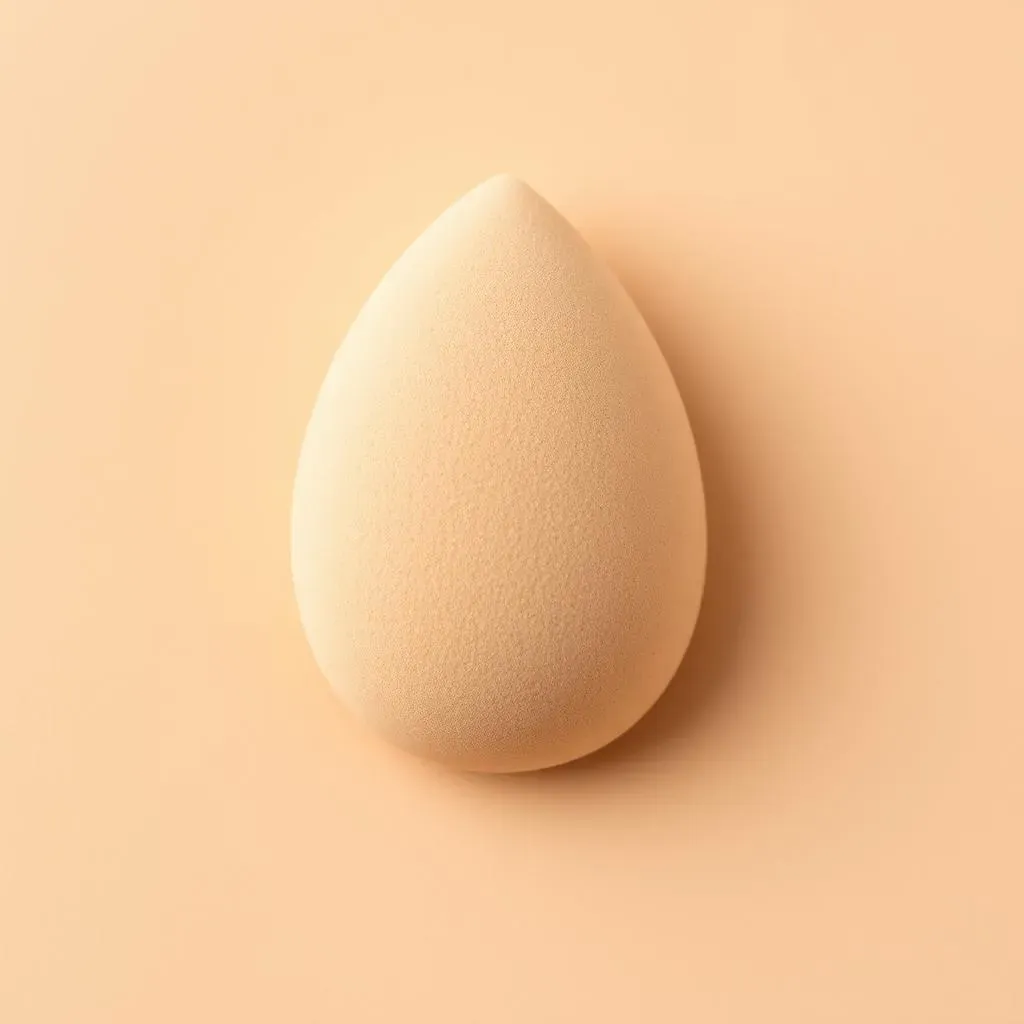
Alright, so you want that airbrushed, "I woke up like this" look? That's where sponges shine. They're the ultimate blending masters, especially for liquid and cream formulas. Think foundation, concealer, cream blush, even cream contour. Sponges help you seamlessly meld these products into your skin, blurring any harsh lines and creating a uniform, natural-looking finish. It's like magic, but it's just science (or, you know, really good makeup application).
One thing to keep in mind: sponges tend to sheer out products. So, if you're aiming for full coverage, you might need to build it up in layers. The sponge absorbs some of the product, which can be a good thing if you're prone to applying too much. Start with a light layer and gradually add more until you reach your desired coverage. It's always easier to add more than it is to take away!
Speaking of damp sponges, that's the key! Always wet your sponge before using it. This prevents it from soaking up too much product and helps it glide smoothly across your skin. Just squeeze out the excess water until it's damp, not dripping. Trust me, it makes a world of difference.
Fingers Know Best: The Underestimated Makeup Tool
Fingers Know Best: The Underestimated Makeup Tool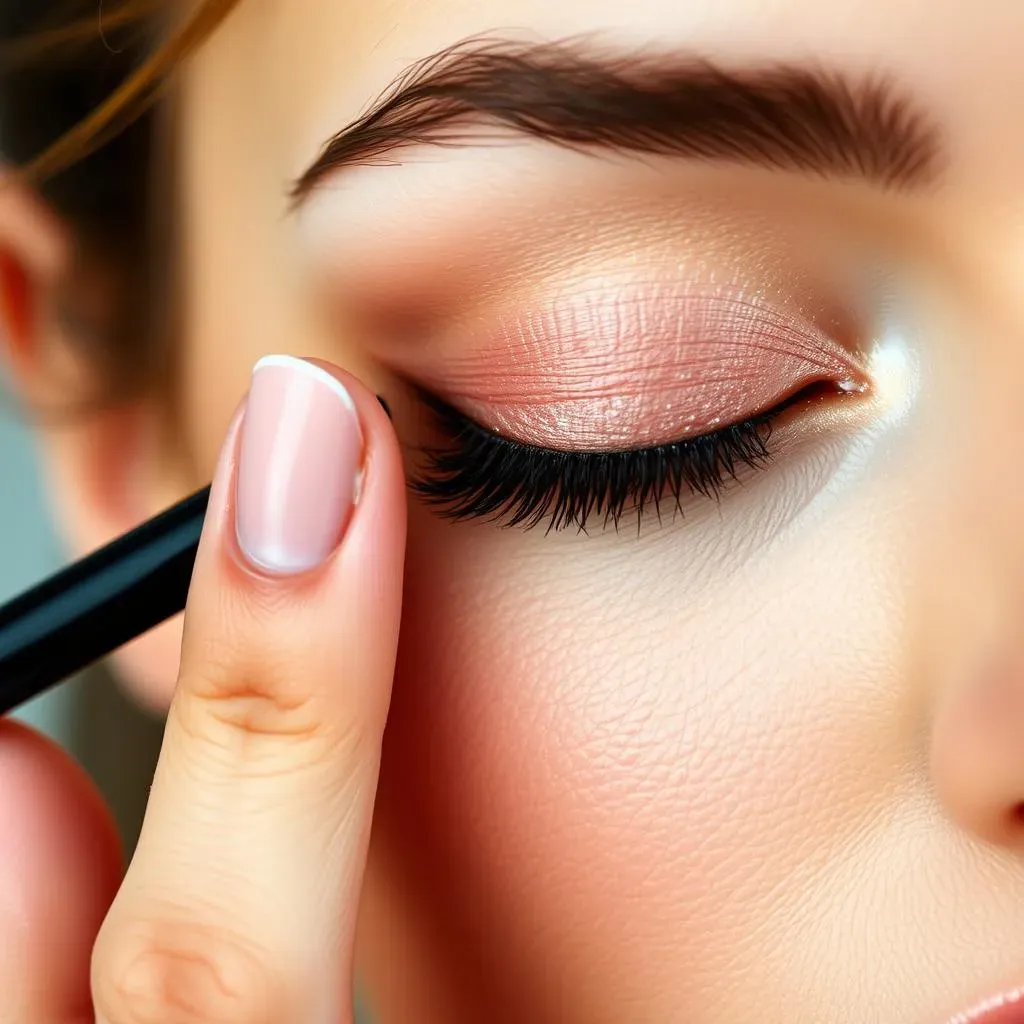
The Original Applicators
let's get real for a sec. We're so caught up in brushes and sponges that we often forget about the tools we were born with: our fingers! Seriously, your fingers can be amazing for applying makeup, especially when it comes to cream formulas. Think about it – makeup artists have been using their fingers for ages, and for good reason. The warmth of your fingers helps to melt the product into your skin, creating a seamless, natural-looking finish. Don't knock it 'til you try it!
I remember when I first started experimenting with makeup, I was intimidated by all the brushes. So, I just used my fingers! And honestly, some of my best looks came from that. There's something so intuitive about using your fingers – you can really feel the product and control where it goes. Plus, it's free! Can't beat that.
When Fingers Truly Shine
So, when should you ditch the brushes and embrace your digits? Cream eyeshadows are a prime example. The warmth of your finger helps to blend the shadow seamlessly onto your lid, creating a wash of color that looks effortlessly chic. Concealer is another great one – gently patting it under your eyes with your ring finger can help to brighten and conceal without tugging at the delicate skin.
Speaking of the ring finger, that's your secret weapon! It naturally has the lightest touch, making it perfect for applying product around the eyes. You want to avoid applying too much pressure in that area, as it can lead to wrinkles and irritation. So, use your ring finger to gently pat and blend your way to a flawless undereye.
Hygiene and Technique Tips
Now, before you go slathering makeup all over your face with your bare hands, let's talk hygiene. Always make sure your hands are clean before applying makeup. Wash them thoroughly with soap and water, just like you would before handling food. Nobody wants to transfer dirt and bacteria onto their face – that's a recipe for breakouts!
Also, think about the technique. Don't just smear the product all over the place. Use gentle tapping and patting motions to press the product into your skin. This helps it to blend seamlessly and prevents you from dragging or stretching your skin. Remember, less is more! Start with a small amount of product and build it up as needed. You can always add more, but it's hard to take away.
Product | Application Technique | Why It Works |
|---|---|---|
Cream Eyeshadow | Gentle patting and blending | Warms the product for seamless blending. |
Concealer (under eyes) | Light tapping with ring finger | Minimizes pressure and prevents tugging. |
Cream Blush | Dabbing and blending outwards | Creates a natural, diffused flush. |
Makeup Brush vs. Sponge: The Final Verdict on Application
Makeup Brush vs. Sponge: The Final Verdict on Application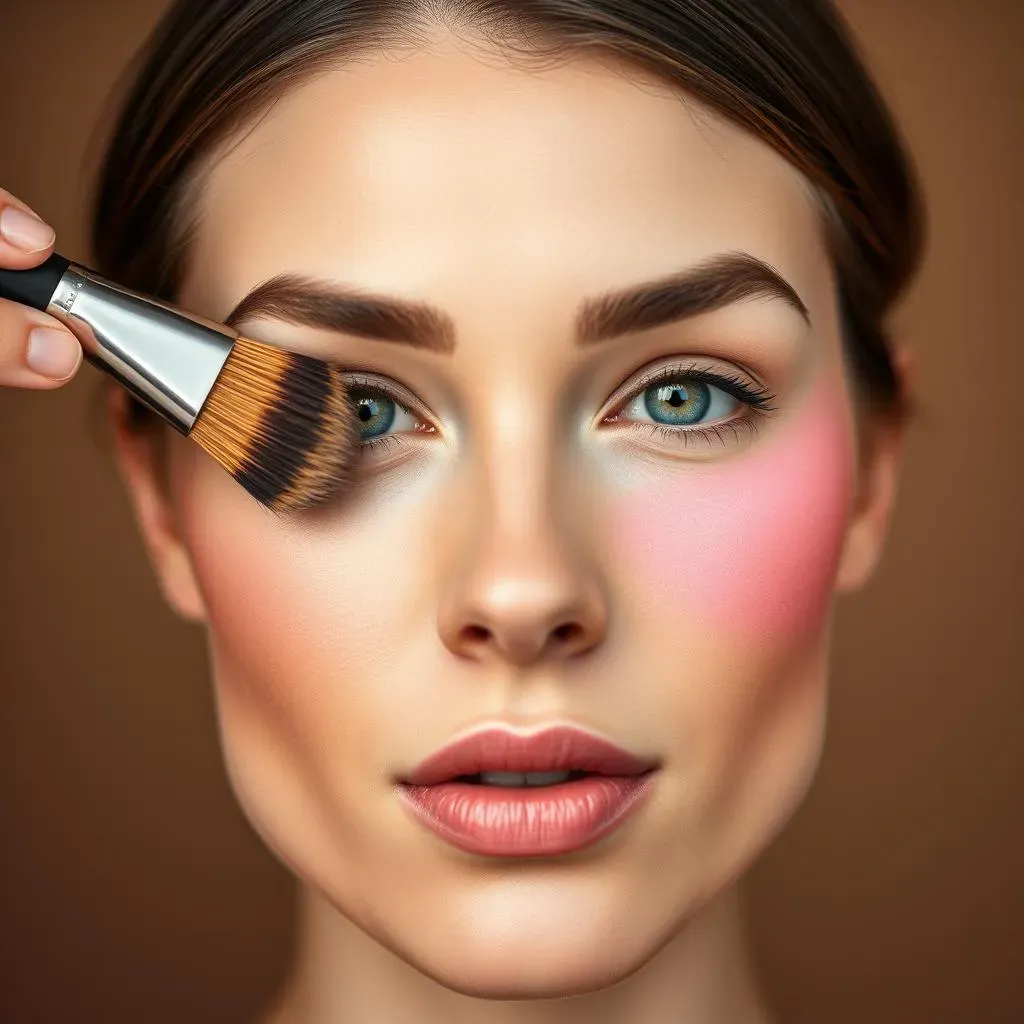
so after all that, what's the ultimate answer in the makeup brush vs. sponge showdown? Honestly, it boils down to personal preference. There's no right or wrong choice, just what works best for you and your unique skin. If you're all about that flawless, airbrushed look, a sponge is probably your go-to. But if you crave precision and control, brushes will be your best friends. And don't forget about your fingers! They can be amazing for blending cream products and achieving a natural, effortless finish. The key is to experiment, play around with different techniques, and find what makes you feel the most confident. After all, makeup is all about expressing yourself and having fun!
Ultimately, the best way to decide is to experiment! Try applying your foundation with a brush one day and a sponge the next. See which one you prefer. Pay attention to the finish, the coverage, and how long it takes you to apply. You might even find that you like using both! Maybe you use a brush for your foundation and a sponge for your concealer. There are no rules in makeup, so have fun and find what works for you.
And remember, practice makes perfect! The more you experiment with different tools and techniques, the better you'll become at applying makeup. Don't get discouraged if your first few attempts aren't perfect. Just keep practicing, and you'll eventually find your groove. And most importantly, have fun! Makeup should be a creative outlet, not a source of stress. So, relax, experiment, and enjoy the process!
Factor | Makeup Brush | Makeup Sponge | Fingers |
|---|---|---|---|
Coverage | Can be built easily | Sheers out product | Medium, buildable |
Finish | Can be more precise | Seamless, airbrushed | Natural, skin-like |
Best For | Powder products, precise application | Liquid and cream products, blending | Cream products, targeted application |
Makeup Brush vs. Sponge: The Final Verdict on Application
So, makeup brush vs. sponge – who wins? Honestly, it's a tie! The "best" tool truly depends on the product, your skin type, and the finish you're after. Sponges are your go-to for that airbrushed, seamless liquid foundation look. Brushes excel at precision work and building coverage with powders and creams. And don't underestimate the power of your fingertips, especially for cream shadows and targeted concealing. Experiment, play around, and discover what works best for you. After all, makeup is about expressing yourself and having fun! The key is understanding the strengths of each tool and using them to your advantage. Now go forth and create your masterpiece!