Table of Contents
IntroductionHey there, beauty enthusiasts! Ever wondered how to rock a heavy makeup look without looking like you dipped your face in a makeup palette? Well, you’re in luck because today, we’re diving into the wonderful world of heavy makeup. Whether you’re a makeup newbie or a seasoned pro, this guide will help you achieve that dramatic, bold look you’ve always wanted. At makeuptools.beauty, we’re all about empowering you with
The Ultimate Guide To Heavy Makeup Look: Bold And Dramatic Tips
Creating a Heavy Makeup Look: Tips and Tricks
Creating A Heavy Makeup Look Tips And Tricks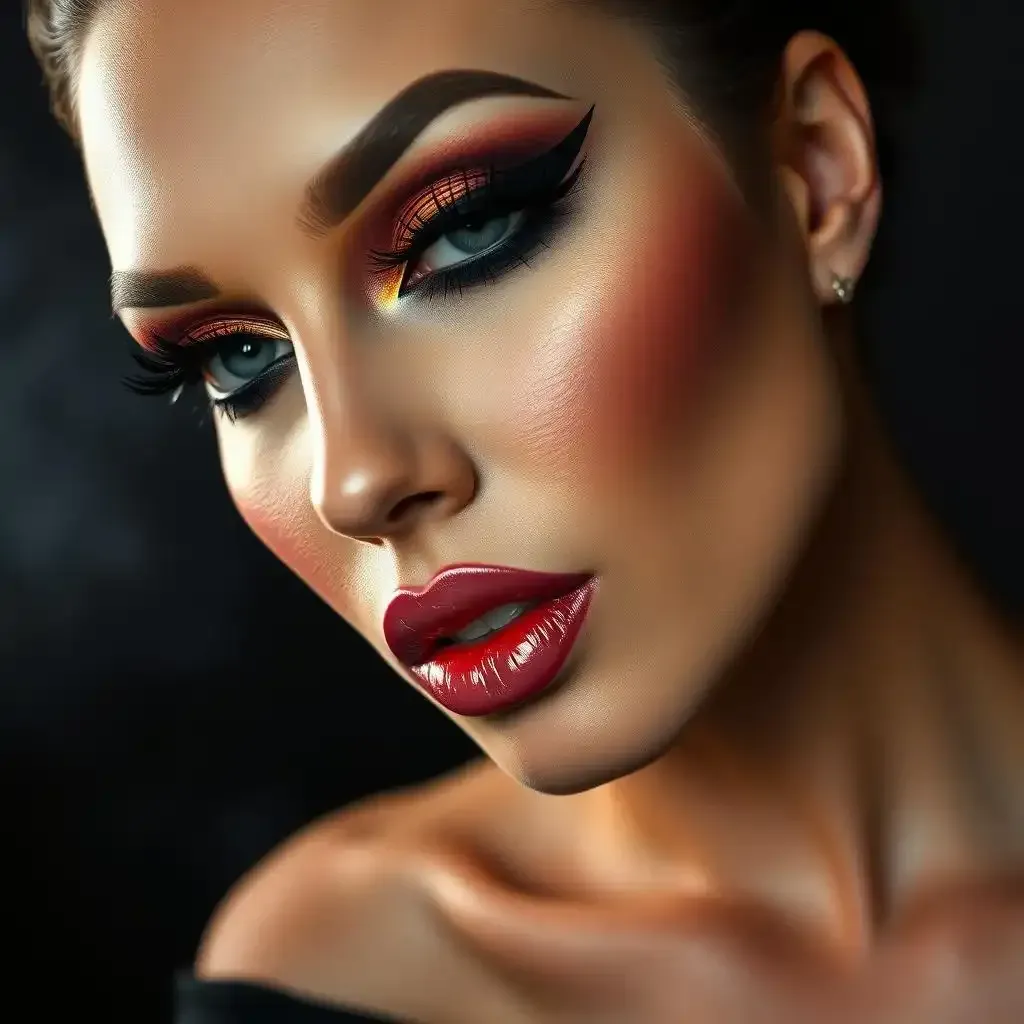
Laying the Foundation (Literally!)
Okay, so you're aiming for a heavy makeup look. Think less "natural glow" and more "glam rock goddess." The key is building up layers strategically, like constructing a magnificent cake. First, you'll need a solid base. Don't skimp on the primer, it's like the frosting that keeps everything smooth and prevents your masterpiece from crumbling. I usually use a hydrating primer, because who wants dry, flaky skin under all that gorgeous makeup? Then comes the foundation – choose a full-coverage one, the kind that makes your skin look like porcelain. You want it to be flawless, like a perfectly prepped canvas for a painting. Don't be afraid to use a beauty blender to really buff it in; you're aiming for a smooth, even finish, not patchy or streaky.
Remember, less is more... said no one ever aiming for a heavy makeup look. Seriously though, start slow. You can always add more, but taking it away is a whole other level of messy. Think of it like layering clothes – you wouldn’t put on your winter coat and then your swimsuit, would you? Build up your foundation slowly, layer by layer. Don’t go straight for the “pancake batter” look in one go – trust me, it’ll look cakey and unnatural. And nobody wants that.
Product | Purpose | Tip |
|---|---|---|
Primer | Creates a smooth base | Choose one that suits your skin type |
Full-coverage foundation | Provides even skin tone | Blend thoroughly with a sponge |
Concealer | Hides imperfections | Use a shade slightly lighter than your foundation |
Eyeshadow Extravaganza: From Subtle to Showstopping
Now for the fun part – the eyes! This is where you can really let your creativity shine. Think of your eyelids as a blank canvas. You can create a dramatic smoky eye, a bold graphic liner look, or even something completely unique. The key is to use a variety of shades and textures. Start with a neutral base, then build up your color. Don't be afraid to experiment with different techniques – blending, layering, and packing on the color. For a truly heavy look, don’t be shy with your eyeshadow. Use a good eyeshadow primer to prevent creasing. I always start with a base shade all over my lid to make the other colors pop. Then I add darker shades in the crease and outer corner of my eye to add depth and dimension. Finally, I use a shimmery shade on the center of my lid to highlight and brighten.
Remember that heavy eye makeup is a statement. Don't be afraid to be bold and creative. I love using vibrant colors or metallic shades to really make my eyes pop. If you're feeling adventurous, try experimenting with different techniques, like cutting creases or halo eyes. Just have fun with it! And if you make a mistake? Don't stress! It’s makeup; you can always wipe it off and start again. Think of it as a practice run for your next masterpiece.
- Start with a neutral base shade.
- Add darker shades to the crease and outer corner.
- Use a shimmery shade on the center of the lid.
- Don't be afraid to experiment with different colors and techniques.
Achieving the Perfect Heavy Makeup Look
Okay, so we've laid the groundwork – literally! Now, let's talk about building that heavy makeup look. Think of it like creating a delicious cake: you wouldn't just slap on the frosting and call it a day, would you? No, you'd carefully layer the ingredients, one by one, to create something truly spectacular. That's precisely how we’ll approach this. We’re going for impact, drama, and a whole lot of wow factor. The goal isn't to mask your features but to enhance them, to create a look that's both bold and beautiful.
I always start with the eyes, because they're the focal point of any heavy makeup look. Think of your eyelids as a painter's canvas, ready for a masterpiece. I usually begin with a neutral eyeshadow base, then layer on darker shades in the crease to add depth. Don't be afraid to get creative! Experiment with different colors and techniques. For a truly intense look, I love using metallic or shimmery eyeshadows – they add a touch of glamour and intensity that's hard to resist. Remember, we're aiming for drama here, not subtlety! And if you accidentally smudge something? Don't panic! Just grab a cotton swab and gently blend it out. It's makeup, not brain surgery!
Product | Application | Tip |
|---|---|---|
Eyeshadow Primer | Apply before eyeshadow | Prevents creasing |
Neutral Base Shade | Apply all over the eyelid | Creates an even base |
Darker Shades | Apply to the crease and outer corner | Adds depth and dimension |
Shimmery/Metallic Shades | Apply to the center of the lid | Adds highlight and intensity |
Next up is eyeliner. Think bold, think dramatic, think winged liner that could rival a bird in flight! I prefer a gel eyeliner because it’s super pigmented and long-lasting. You can use a liquid liner for a sharper look, but practice makes perfect. If you're new to winged liner, don’t be afraid to start small and gradually build up the wing. There are tons of tutorials online that can help you master this technique. Once you've got your wings perfectly shaped, you can add mascara to really make your lashes pop. This is where you can choose between a volumizing mascara or a lengthening mascara. I always use both for ultimate drama. It’s like having a double shot of espresso for your eyes – instant energy and intensity!
Mascara is your best friend when it comes to a heavy makeup look. It's the secret weapon that takes your eye makeup from good to great. I usually apply two or three coats, focusing on the outer lashes to create a dramatic effect. And remember to curl your lashes before applying mascara – it will help to lift and separate them, making them look longer and fuller. Think of it as the ultimate eyelash lift, free of charge! You can even use false lashes for an extra dramatic effect. It's all about maximizing the impact. A little goes a long way, but this time, we want a lot!
- Start with a gel or liquid eyeliner.
- Create a bold wing.
- Apply two or three coats of mascara.
- Curl lashes before applying mascara.
- Consider false lashes for extra drama.
Heavy Makeup Look Inspiration and Tutorials
Heavy Makeup Look Inspiration And Tutorials
So, you wanna learn how to create a killer heavy makeup look? Don't worry, you're not alone! It's like learning a new superpower – it takes practice, but the results are totally worth it. Think of it as sculpting your face; you’re not just slapping on makeup, you’re creating art. And the best part? There’s a whole universe of inspiration out there, waiting to be discovered.
First stop? Pinterest! Seriously, this site is a goldmine. Search for "heavy makeup looks" and prepare to be amazed. You'll find everything from classic Hollywood glam to modern, edgy styles. It’s like having a makeup museum at your fingertips, with thousands of looks to explore. I personally love browsing Pinterest for ideas; it’s like window shopping for makeup, but way more fun. You can save your favorite looks to a board and refer back to them later. It's like having your own personal makeup mood board, which is super handy when you're feeling uninspired.
Platform | Pros | Cons |
|---|---|---|
Tons of visual inspiration, easy to save ideas | Can be overwhelming, some looks might be hard to recreate | |
YouTube | Step-by-step tutorials, see the process in action | Some tutorials can be long and drawn-out |
TikTok | Short, snappy tutorials, trending looks | Can be hard to follow sometimes, fast-paced |
Next, YouTube is your friend. Think of it as a makeup school, with thousands of teachers ready to guide you. Search for tutorials on specific looks, like "heavy smoky eye" or "dramatic winged liner." Pay attention to the techniques they use; you’ll learn how to blend shadows flawlessly, create the perfect wing, and layer your makeup to perfection. Some YouTubers even break down the products they use, making it easy to recreate the look at home. It’s like having a personal makeup artist guiding you through each step – except it’s free and available 24/7!
And finally, don't underestimate TikTok! It’s a whirlwind of quick tutorials and trendy looks. While the videos are short, they’re incredibly effective at showcasing techniques and product application. You'll find makeup artists demonstrating innovative techniques and using products you might not have considered before. It's a great place to learn new trends and find inspiration for your next heavy makeup look. Plus, it’s super entertaining! It’s like a fast-paced makeup show, with new episodes every day.
- Pinterest: Find visual inspiration and save looks you like.
- YouTube: Watch detailed tutorials and learn specific techniques.
- TikTok: Learn trending looks and quick application tips.
“The best makeup is the kind that makes you feel good.” – Unknown
Common Mistakes to Avoid When Going for a Heavy Makeup Look
Common Mistakes To Avoid When Going For A Heavy Makeup Look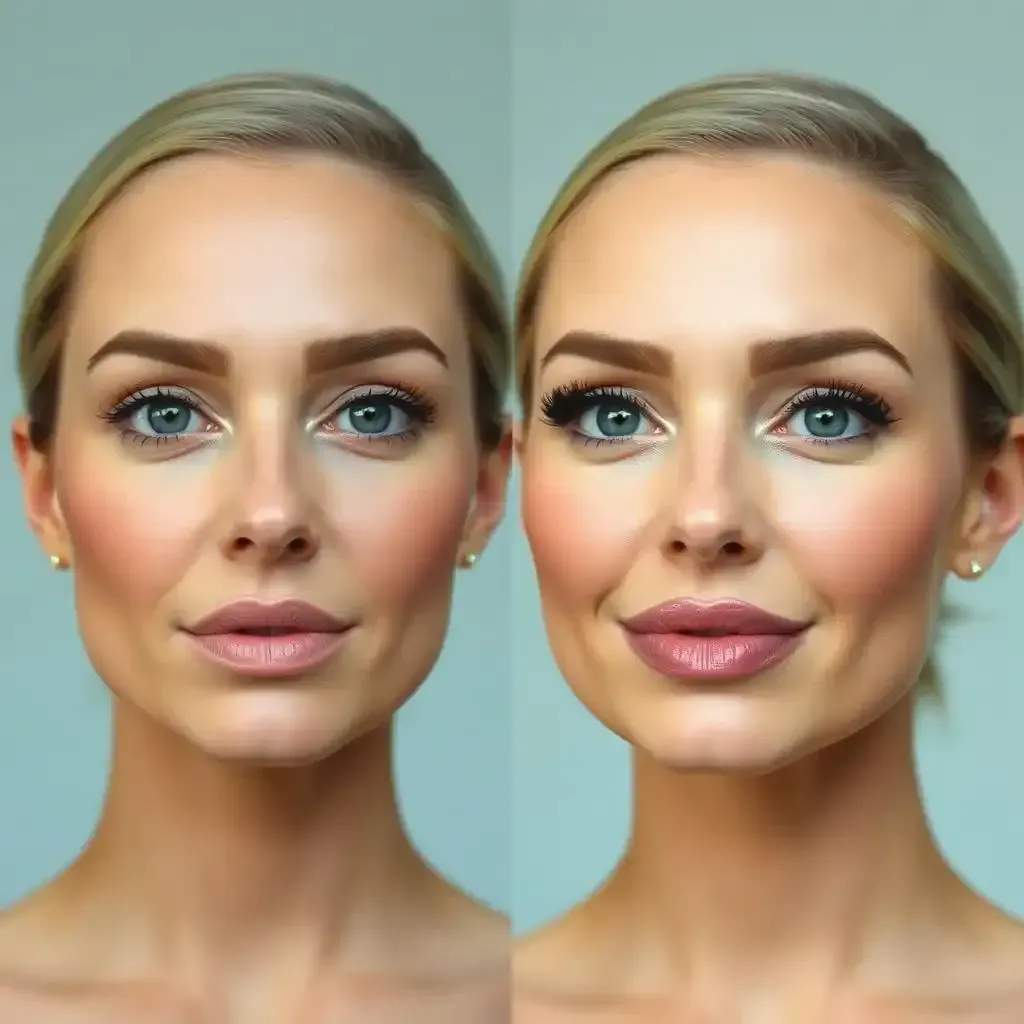
The "Mask" Effect: Too Much Foundation
One common pitfall? Layering on so much foundation you look like you're wearing a mask. It's like trying to paint a masterpiece on a textured wall – the paint just won't lay smooth. Instead of achieving a flawless finish, you get a cakey, unnatural look. Remember, foundation is supposed to even out your skin tone, not hide it completely. Start with a thin layer, building up gradually where needed. Think of it as sculpting your face, not plastering it. Focus on blending, blending, and more blending! Use a damp beauty blender to really work the product into your skin, ensuring a seamless finish. Less is often more, especially when aiming for a polished look that still looks like you, just... amped up.
- Start with a thin layer of foundation.
- Blend thoroughly using a damp beauty blender.
- Build up coverage gradually in areas that need it.
- Set with powder to prevent shine and cakiness.
Clashing Colors and Textures: A Makeup Mismatch
Another common mistake? Using eyeshadow colors and textures that clash horribly. It's like mixing peanut butter and jelly with broccoli – some combinations just don't work. Before you even begin, consider your overall look. Are you going for a soft, romantic vibe or something more edgy and dramatic? Choose colors and textures that complement each other and your skin tone. For example, if you're using a shimmery eyeshadow, avoid pairing it with a matte lipstick in a completely different color family. Think of it as a cohesive outfit – everything should work together to create a harmonious whole. If you're not sure where to start, look for makeup tutorials that use similar color palettes. Experiment with different combinations, but always keep the overall look in mind.
Color Family | Complementary Colors | Texture Combination |
|---|---|---|
Warm Tones (browns, oranges) | Golds, bronzes, peaches | Matte and shimmer |
Cool Tones (blues, purples) | Silvers, grays, pinks | Shimmer and metallic |
Neutral Tones (beiges, grays) | Most colors | Matte and satin |
